Blue Team
How to store BitLocker keys in Active Directory
Table of Contents

BitLocker is a fantastic way to protect the data stored on computers and thwart some offline tampering attacks. However, if you’re using BitLocker within a business environment, keeping track of the recovery keys can be quite burdensome. Thankfully Microsoft has developed a way to automatically save BitLocker recovery keys to active directory.
In this post I’m going to be going through the process, step-by-step, to enable BitLocker recovery key saving to active directory. Plus we’ll take a look at how computers that are already encrypted can retrospectively have their recovery keys backed up to active directory.
1.0 Requirements #
- Windows 7 or newer client (Must be either Pro or Enterprise)
- Windows Server 2012 or newer domain controller
- Domain schema level of at least ‘Windows Server 2012’
- Latest group policy ADMX files
This guide will show the steps specifically for Windows 10 1909 and Windows Server 2019.
2.0 Setup Steps #
2.1 Installing BitLocker #
So that we can access the Bitlocker recovery keys, we’ll need to install the BitLocker feature on a domain controller (DC). This feature will add an additional tab within Active Directory Users and Computers to access the recovery keys. It doesn’t mean the domain controller will be encrypted, just that the necessary GUI administration tools will be installed.
On a domain controller open Server Manager and then launch the Add Roles and Features Wizard. Tick the ‘BitLocker Drive Encryption’ option under Features.

You will be prompted to install additional tools. Select ‘Add Features’.

Leave the feature install to complete. The BitLocker administrator tools will now be installed. Later in the guide we’ll use those tools to view the stored BitLocker recovery keys.
2.2 Update group policy #
Client computers will need to forward their recovery keys to active directory. In order to do this we’ll use group policy. In my experience the correct group policy options aren’t always shown out-of-the-box, so I’m going to use the latest template file. Plus it’s always good practice to use the latest group policy templates.
Download the latest ADMX files for your build of Windows here.
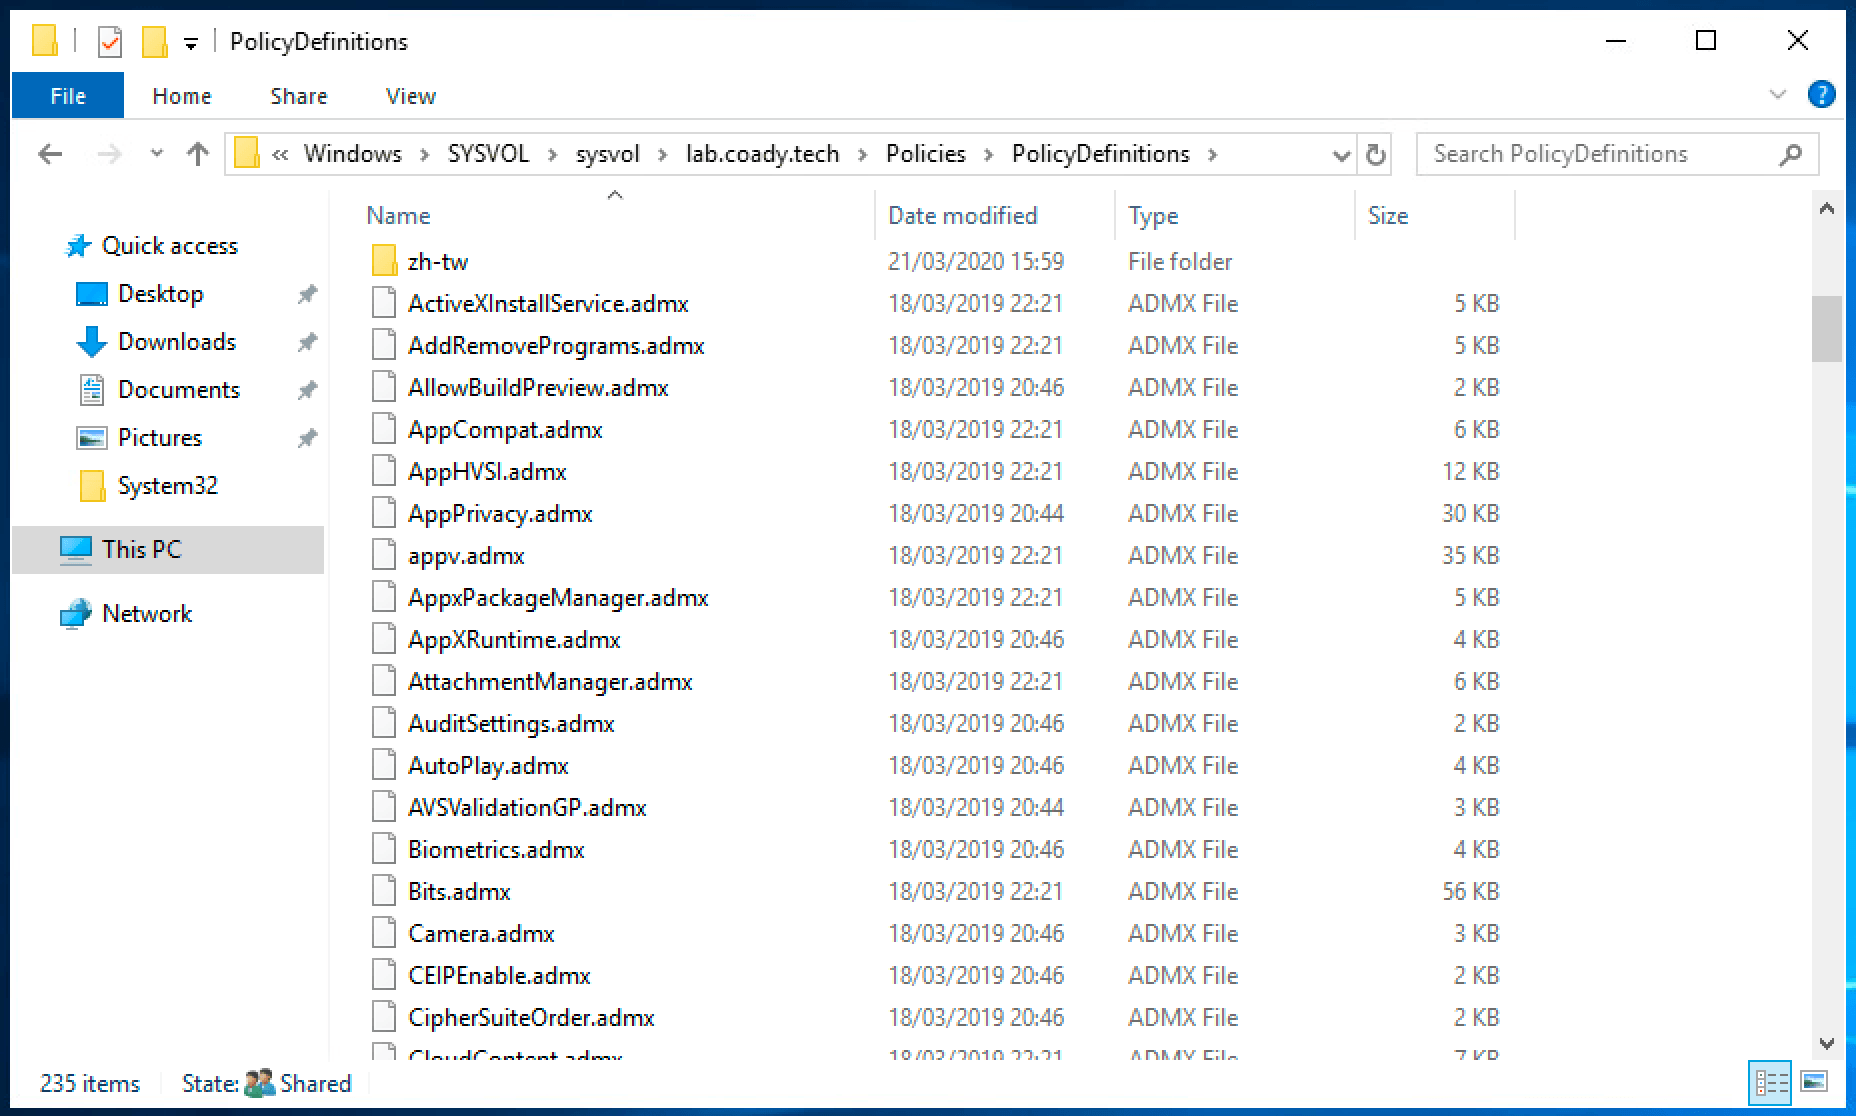
Inside of the ZIP archive will be many group policy ADMX files along with folders for each language. Extract these files to the ‘PolicyDefinitions’ folder within the SYSVOL share on a domain controller. E.g.
C:\Windows\SYSVOL\mydomain.local\Policies\PolicyDefinitions
Tip
Once finished you should have a setup similar to mine, as shown below:
2.3 Configuring BitLocker #
Create a new group policy object targeted at your computers.

Open the policy for editing and then browse to:
Computer Configuration > Policies > Administrative Templates > Windows Components > Bitlocker Drive Encryption > Operating System Drives.
Configure the policy “Choose how BitLocker-protected operating system drives can be recovered” and set it as shown below:

Save the changes and then exit the group policy editor.
We’re done! Now it’s time to test our changes.
3.0 Encrypting computers #
If you’ve completed the previous steps, BitLocker should be automatically saving recovery keys to active directory when the OS volume is encrypted.
For the purpose of this guide I’m going to encrypt my test client machine the simple way – by right-click’ing on the C volume and following the ‘Turn BitLocker on’ wizard.

4.0 Recovering the BitLocker key #
Following our work in Step 1, a new ‘BitLocker Recovery’ tab will be present within active directory computer objects. On a domain controller open Active Directory Users and Computers and then locate the relevant computer account. Double click on the computer account to open the properties dialogue.
Select the ‘BitLocker Recovery’ tab. This will list all of the recovery keys for the computer in question. If there are multiple entries select the top one. Multiple entries will show up if the computer has been encrypted/decrypted multiple times.

The recovery password (circled in red) can be entered into the BitLocker recovery screen on a client device like so:

5.0 Backup existing BitLocker keys to AD #
Backing up the recovery keys to active directory on already encrypted devices is possible too. Open PowerShell as an administrator on an encrypted computer and run the command:
manage-bde -protectors -get C:
This will return an output similar to the following:

Note the ID number for the numerical password above (circled in red). Use that in the following command:
manage-bde -protectors -adbackup C: -id {87F55347-BF79-4110-BB3F-6F4B69A7A518}

That’s it! If you now check the computer object in active directory it will have the client’s key stored.
6.0 Summary #
In this post I’ve gone over the steps needed to automatically store BitLocker recovery keys in active directory for new BitLocker installations, and covered one method to add recovery information for existing PC’s too.
Please let me know your thoughts or any improvements I could make in the comments below. Thanks!