Setting up the Modern Honeypot Network

The main part of my honeypot network is an amazing piece of free open-source software called the ‘Modern Honeypot Network’, or MHN for short. MHN acts as a centralised server allowing for the automated deployment of various honeypots (Dionaea, WordPot, etc) and the collection of data generated by those honeypots. This data is then presented to the user via a web interface.
In this post I’m going to be detailing the steps I took to setup my very own MHN server and deploying my first honeypot.
Requirements
- A server running Ubuntu 18.04, Ubuntu 16.04 or CentOS 6.9
- Git installed
- Static IP address
- Approx 1vCPU and 2GB’s of RAM
For my server I’m using Vultr’s new high frequency compute instances. The powerful CPU’s and NVMe backed storage are a good match for a server which will be doing a lot of logging.
As this server will be directly interfacing with Honeypots I didn’t like the idea of hosting it in my HomeLab. By using a VPS we can be confident that any breaches won’t spill over into our home networks.
https://www.vultr.com/?ref=8219382-4F
Installation
First we’ll need to copy the MHN files to our server and start the installation script. Run the following commands in order:
| |
Then run the installation script
| |
The script will take about 3-5 minutes to run.
You will eventually be prompted for decide on some configuration options. Enter the following responses:
| |
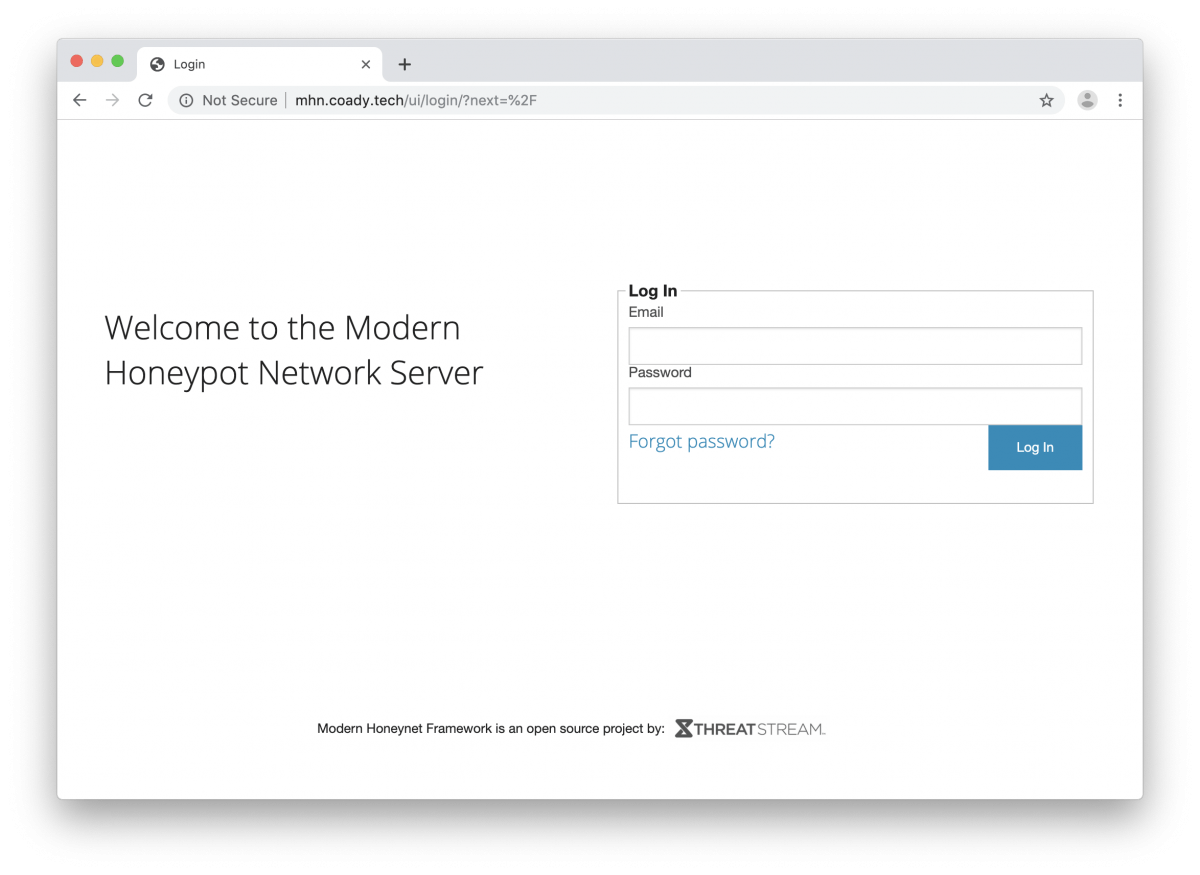
Once you’ve completed the above steps try browsing to your new server via HTTP. You should see a login prompt like so:
Configuring HTTPS
As we’ll be connecting to our MHN appliance over the internet it is important that we configure HTTPS. For this we’ll use a tool called certbot to automatically source and configure a certificate form Let’s Encrypt.
On Ubuntu type the following commands.
| |
| |
Cerbot is now installed. Before we can request a certificate however, we’ll need to edit the ‘server’ block within the Nginx configuration. This is how certbot associates certificates against the correct Nginx site.
Open up the default Nginx config with the nano editor:
| |
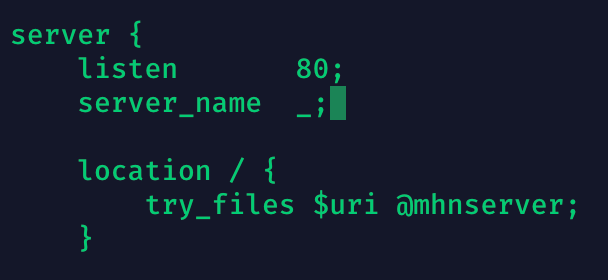
You will see that the ‘server_name’ parameter isn’t set (shown below).
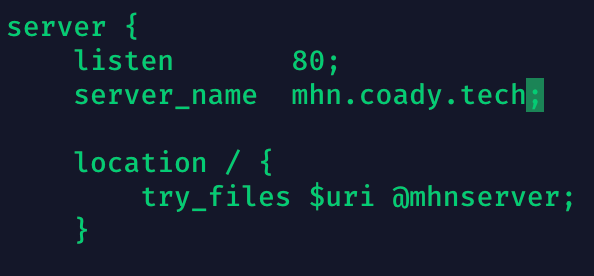
Set your DNS hostname like so (shown below):
Restart Nginx so the new configuration is loaded
| |
We’re almost there! Now let’s use certbot to request a certificate. In this command we’ll be using the “-d” flag to specify our hostname. Update the command below so it’s relevant for your domain.
| |
Cerbot will now ask you a few questions. If asked to setup redirection from HTTP to HTTPS I’d recommend enabling it.
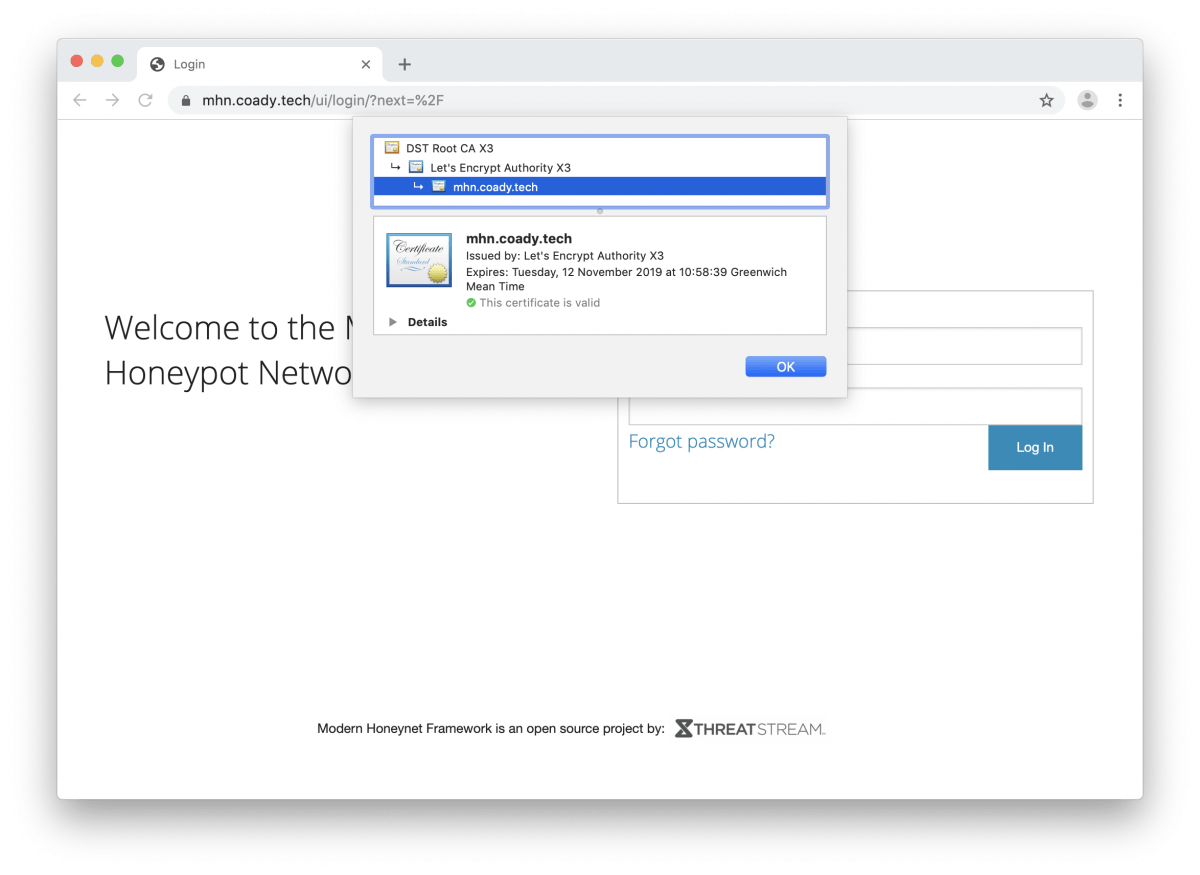
Finally browse back to your MHN server and check to see if the certificate is working. Here’s my server:
Deploying a Honeypot
What is Dionaea?
For our first honeypot, we’ll be deploying Dionaea. There are other honeypots available with MHN, but it is my personal favourite. Dionaea supports a multitude of protocols including SMB, FTP and MySQL amongst others. It will pretend to be a real server connected to the internet with those services listening. What makes it my favourite is the SMB component.
Server Message Block or (SMB for short) is the protocol by which Windows computers access and share files on local networks. By listening for SMB traffic on the internet we are able to identify potential attackers that are scanning the internet for vulnerable devices, and at the same time, catch samples of malware ‘in the wild’.
Dionaea will report any events back to our MHN server and will also keep a local copy of malware samples it has captured for review later.
Installing Dionaea
For this step, you’ll need a separate virtual machine running Ubuntu linux. As I mentioned previously, I’m using VPS provider Vultr to create small and relatively inexpensive VM’s all over the world.
Within MHN, click on the deploy tab. Change the drop-down menu to “Ubuntu/Raspberry Pi – Dionaea”.
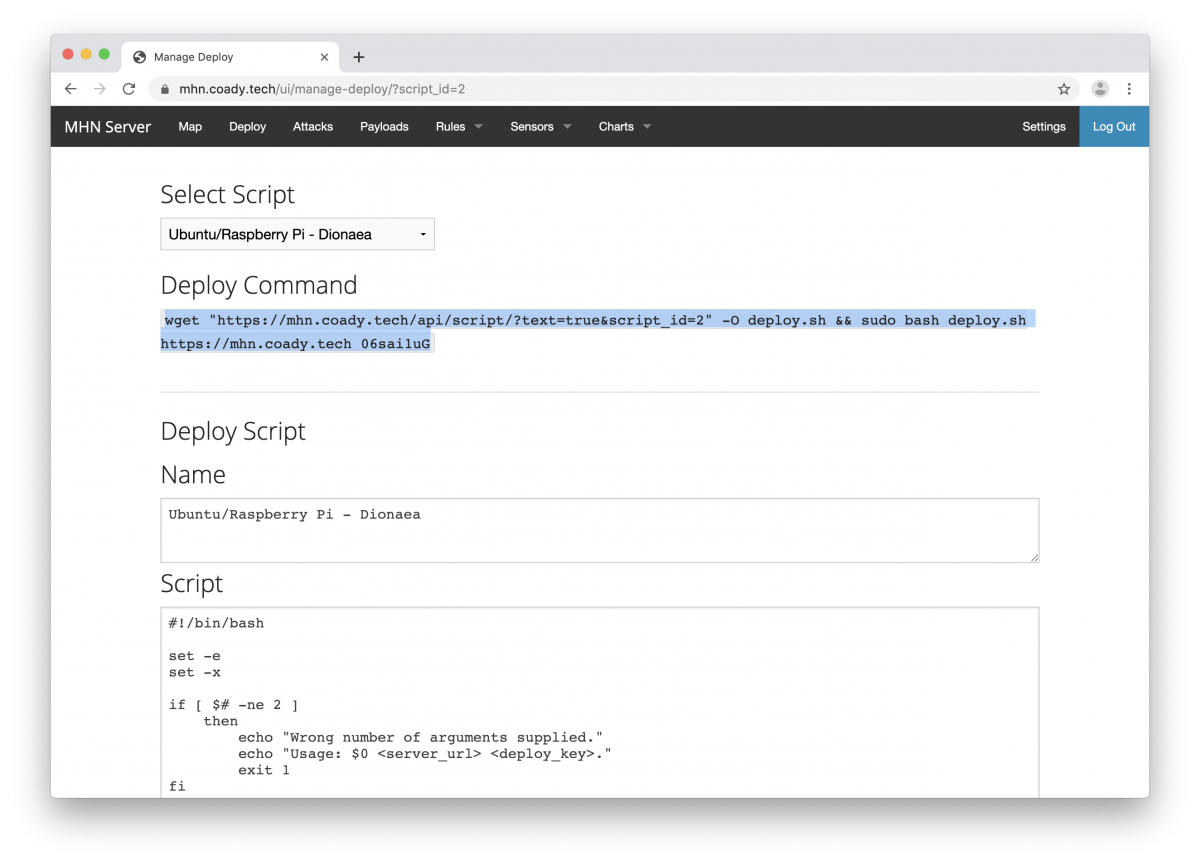
Copy the deploy command as shown above and paste it into your virtual machine. This will download the installation script from your MHN server and automatically configure the Dionaea honeypot. Once installation finished you’ll see something like this in the console:

Within MHN click on the ‘sensors’ tab. You should see the newly deployed Honeypot listed like so:

All that’s left to do now is wait. As attacks are recorded try Dionaea they will be fed back to MHN. You can see the basic details of these attacks by either clicking on the number within the attacks column on the Sensors page, or by opening the attacks page.
Wrapping up
In this post we’ve gone over the necessary steps to install MHN and deploy our very first Dionaea honeypot. Given some time, Dionaea will feed back attack data to MHN for further analysis.
In my next blog post I’ll be showing you how we can better understand this data by passing it through to ElasticSearch and creating visualisations with Grafana.
Thanks for reading!
Comments