Installing Hyper-V Nano server to SD Card
Hyper-V Nano server is Microsoft’s true answer to VMware’s ESXi hypervisor. It weighs in at a tiny 500MB (approx) disk footprint and completely cuts out any sort of GUI, instead solely relying on remote management.
This really is the future of the Windows Server ecosystem: significantly reduced attack surface (92% fewer ‘critical’ vulnerabilities), scriptable PowerShell remote management, and a tiny disk footprint.
In this post I’m going to detail the steps I followed to setup a Windows Server 2016 Hyper-V Nano server image, and install it to the internal SD card of my home lab server, a HP ProLiant DL360 Gen8.
Prerequisites
Before getting started, you’re going to need a few things.:
- Windows Server 2016 ISO image
- Windows 10 ADK (link)
- Nano Server Image Builder Tool (link)
- USB Memory stick
- 16GB SD Card
The image builder tool will need direct access to a USB flash disk, so this needs to be done on a physical Windows PC or a Mac running parallels.
Summary
This guide is going to be in three main parts. Building our custom Nano Server image, then onto generating the installation ISO/USB flash drive based on WinPE, and finally installing to the actual SD card.
Once we have generated a working installation USB drive or ISO, you can use this over and over again to easily install Nano Server.
Building the Nano Server image
First we’re going to start off with generating our own custom Nano Server from the full-fat Windows Server 2016 install media.
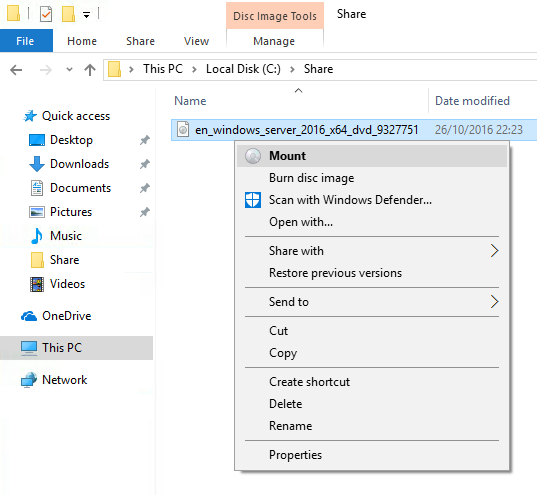
Find the Server 2016 ISO file on your Windows PC, right-click and select the mount option.
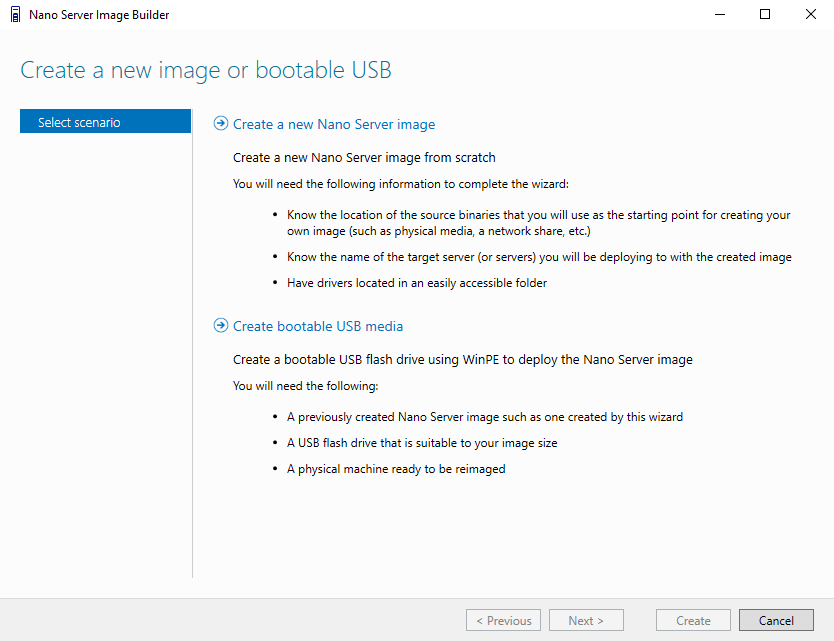
Once mounted, fire up the Nano Server Image Builder (which you should have installed from the pre-requesites), and select the top option to ‘create a new Nano Server image’.
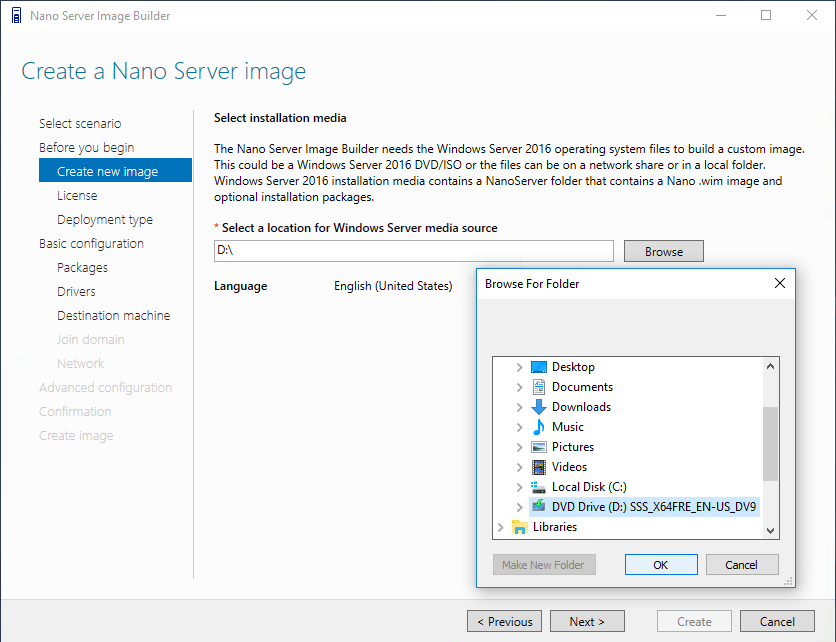
Select next and progress to the ‘create new image’ stage. Here we’ll point the image builder to the Server 2016 ISO image mounted in the first step.
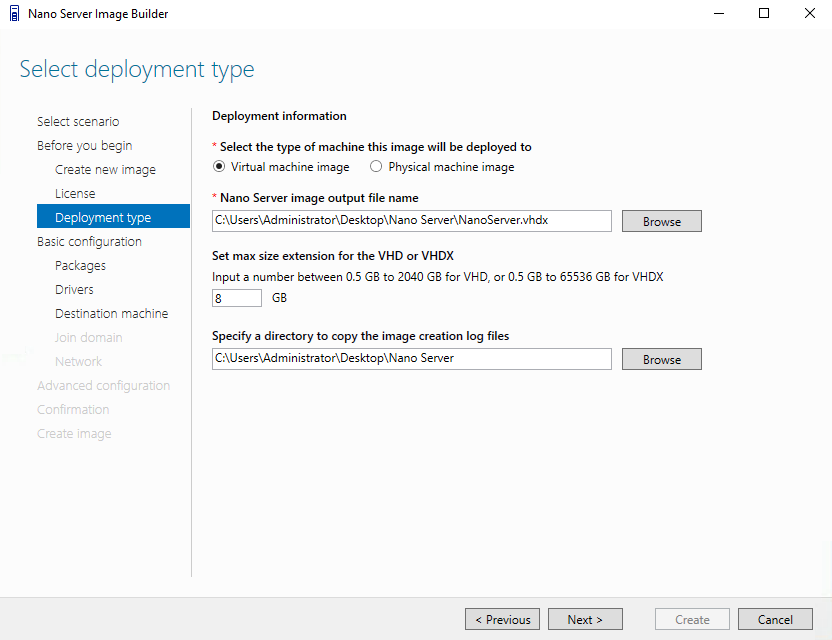
Agree to the license terms, and you should now be shown with the deployment type screen. For the machine type I’m selecting virtual machine image option for the sake of simplicity. Selecting physical will add a few additional steps to the image builder which will allow you to add specific drivers for your physical server hardware.
Set the paths where you’d like the VHD/VHDX files to be generated and their desired size, and proceed to the next step.
Top tip: Remember to edit the paths to change the file type from VHD to VHDX.
You should now be at the optional packages screen. As this is going to be purely a Hyper-V server, I’ve selected Hyper-V and continued on. If you have any need for shielded VM’s, or wish to add some further security via the Microsoft’s Antimalware system, be sure to check those options.
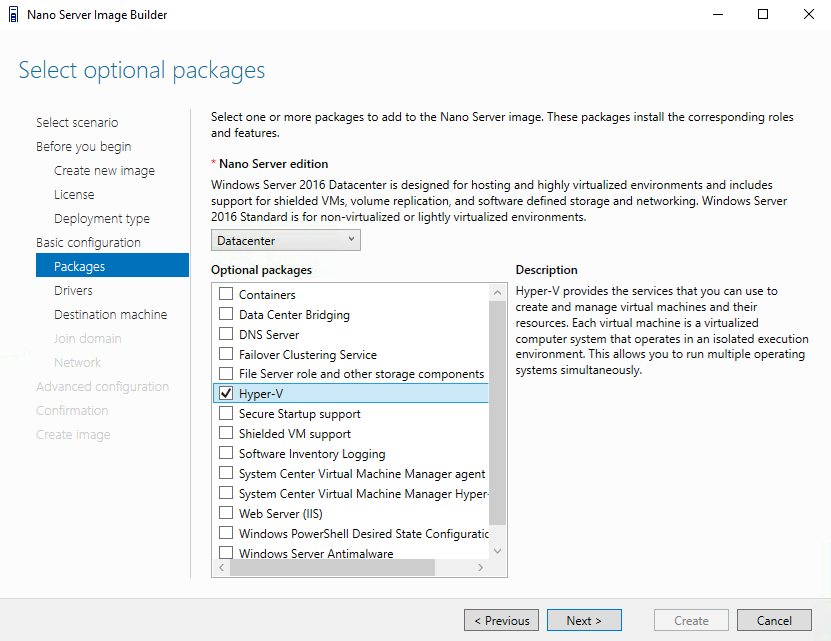
The next step will be to add any drivers needed. As drivers are specific to each environment, I’m going to gloss over this step. If you need any help, please feel free to leave a comment at the bottom of this post.
Having now skipped to the destination machine screen, pop in the desired hostname of the Nano Server and the password for the built-in administrator account.
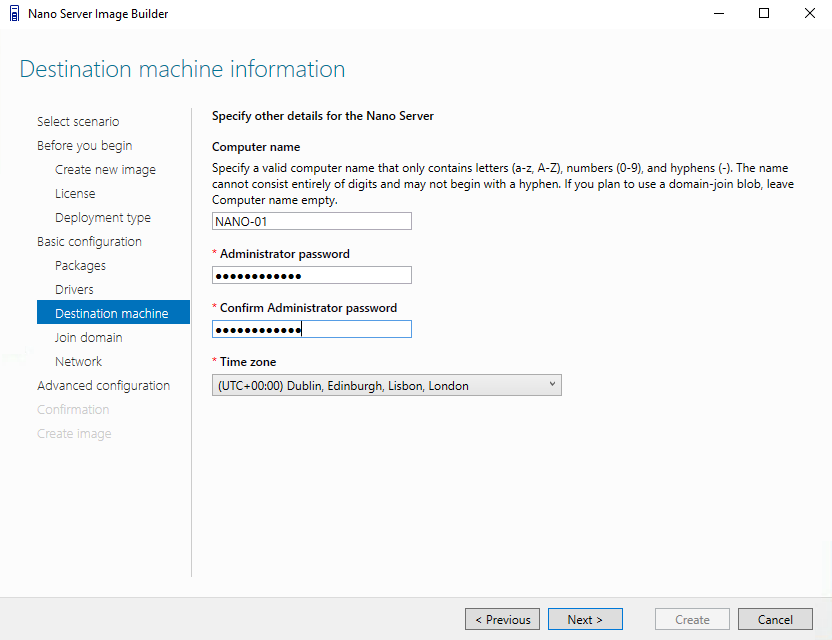
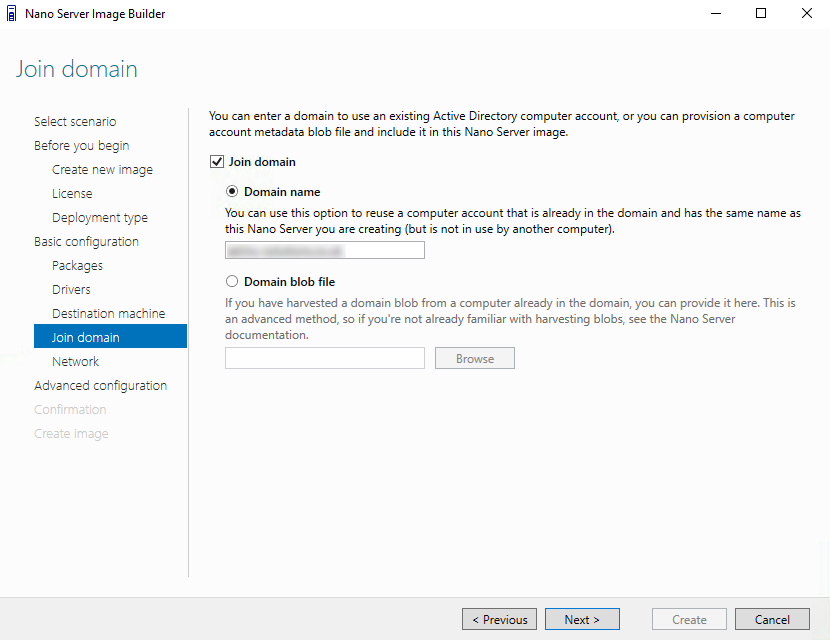
We’re almost there now! At the next screen we’re given the option to join an Active Directory domain, with two options on how to do so. Managing Hyper-V remotely without a domain is a bit of a nightmare, so I’d highly recommend you set this up.
For this example I’m joining the domain via the top option. Make sure to create a computer account in AD with the hostname of the machine as set earlier.
If you’d like to use the domain blob method, check out this guide.
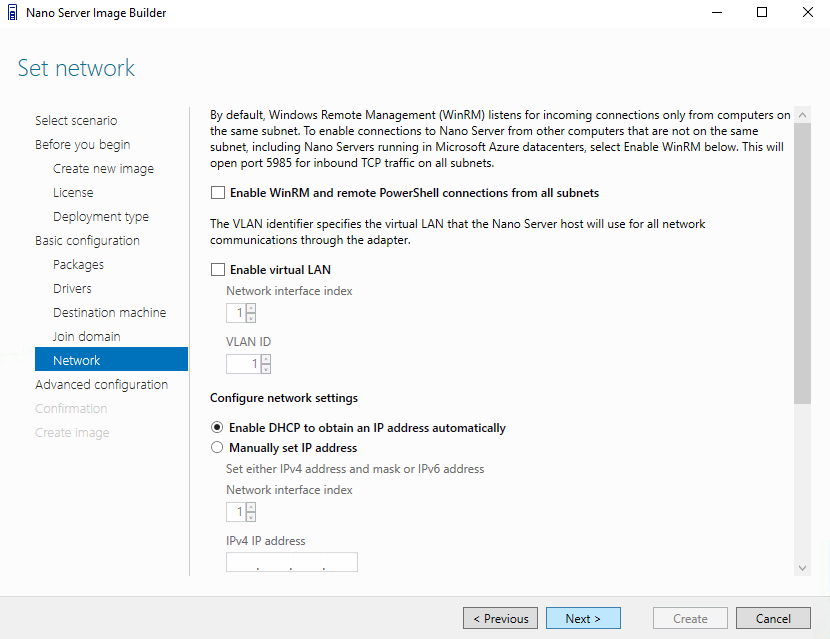
Proceed onto the network configuration screen and see if you need to change any settings in there. By default, Nano Server will obtain an IP address via DHCP and will only communicate via WinRM to hosts on the same subnet.
Top tip: Once installed, it is possible to set a static IP from the Nano Server Recovery Console.
Finally, review the selected options, and select the create button to generate a Nano Server VHD/VHDX file.
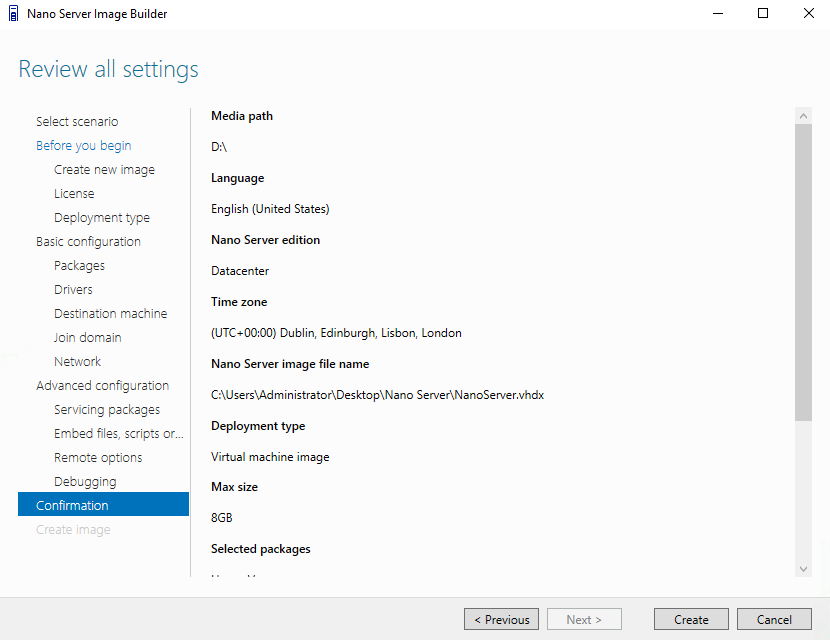
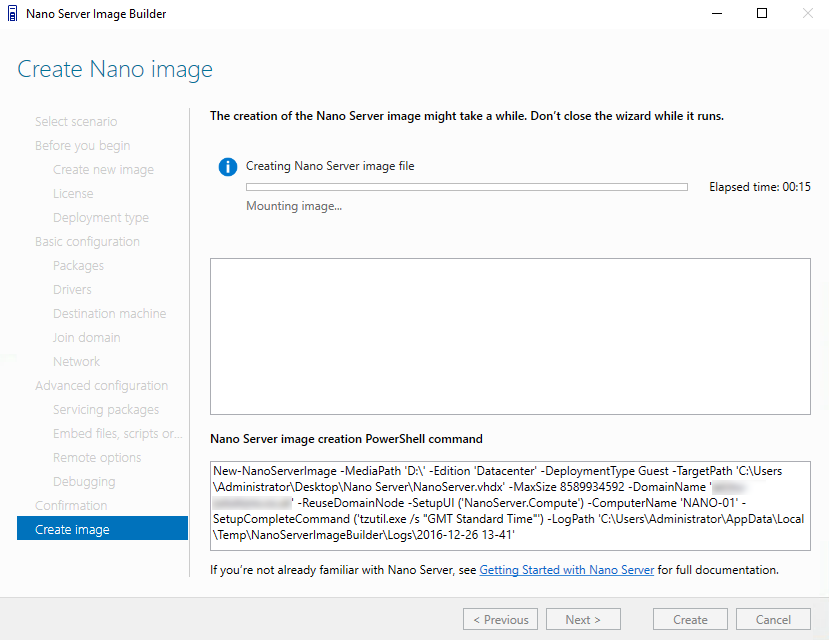
And there we have it, our very own working Nano Server disk image.
Generating the installation media
Now we have a working Nano Server VHDX file, we need a way to install this onto our physical server. Here, I’m going to open the Nano Server Image Builder again, but this time selecting the bottom option to create bootable USB media.

After clicking next, set the location of the Nano Server VHDX file which we generated earlier.
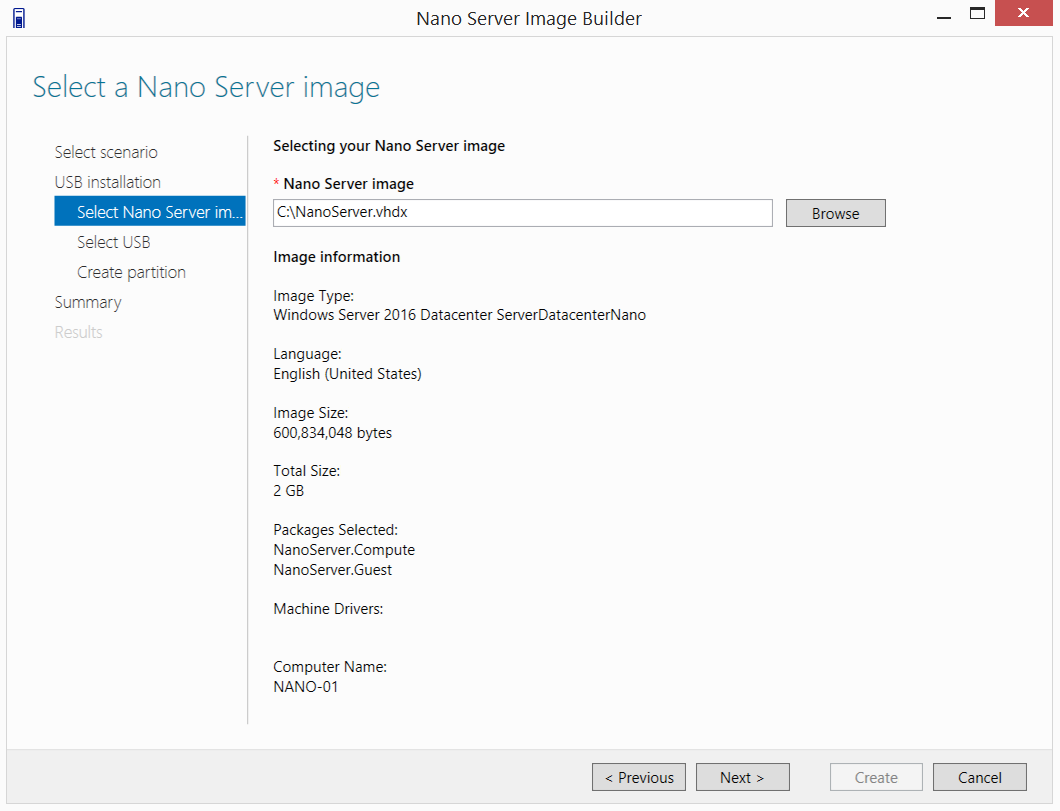
Here you’ll need to plug in a spare USB flash memory stick. Make sure if doesn’t have any data you need, as the image builder will overwrite everything.
Select your flash drive from the drop down and proceed to the next step.
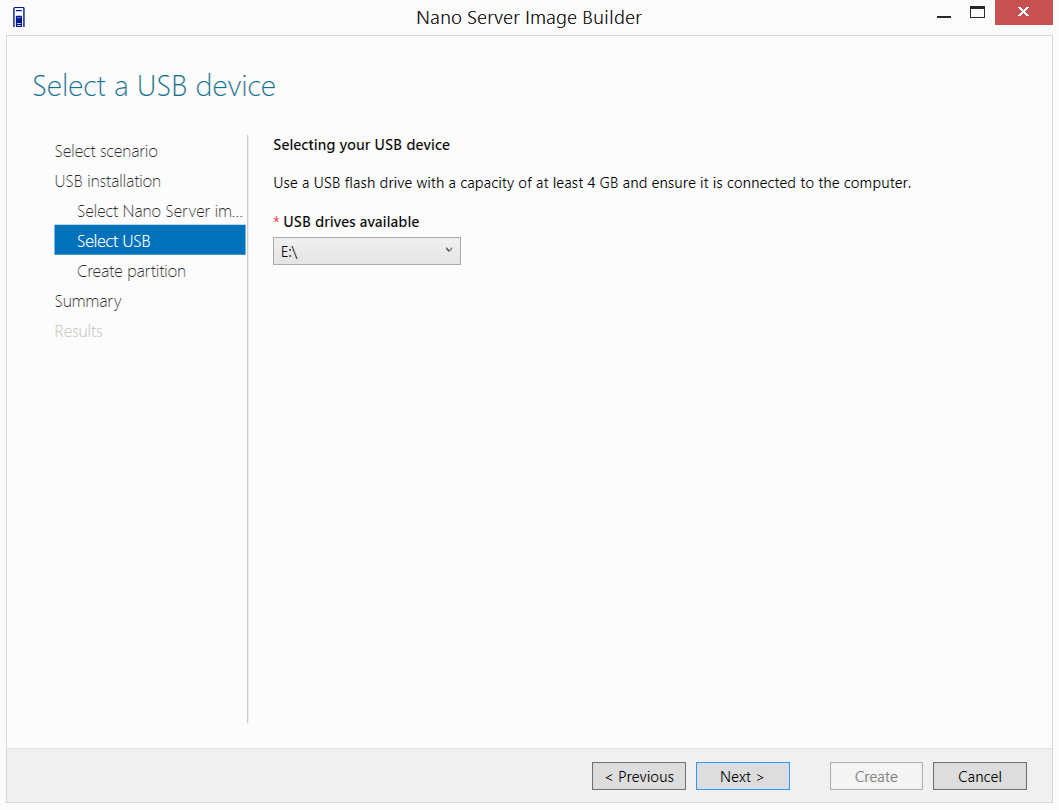
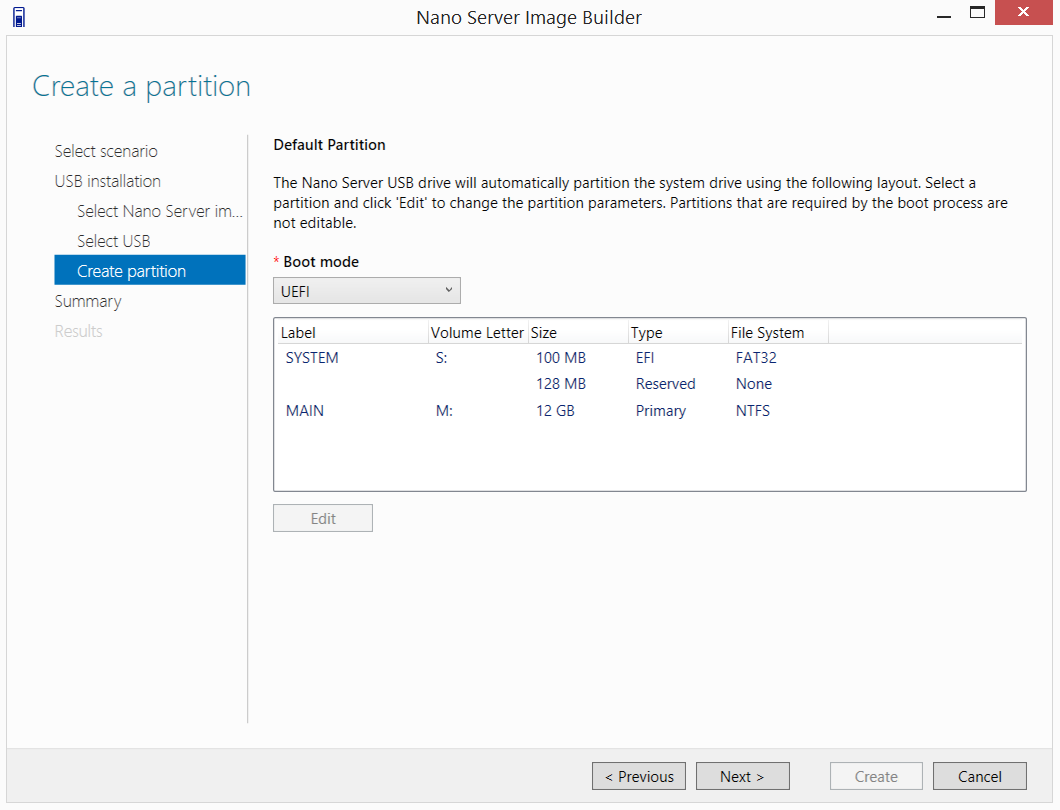
For the final step at this stage, choose whether to prepare the USB flash drive as bootable UEFI or BIOS media. Unfortunately my home lab server doesn’t support UEFI, so I had to change this to BIOS.
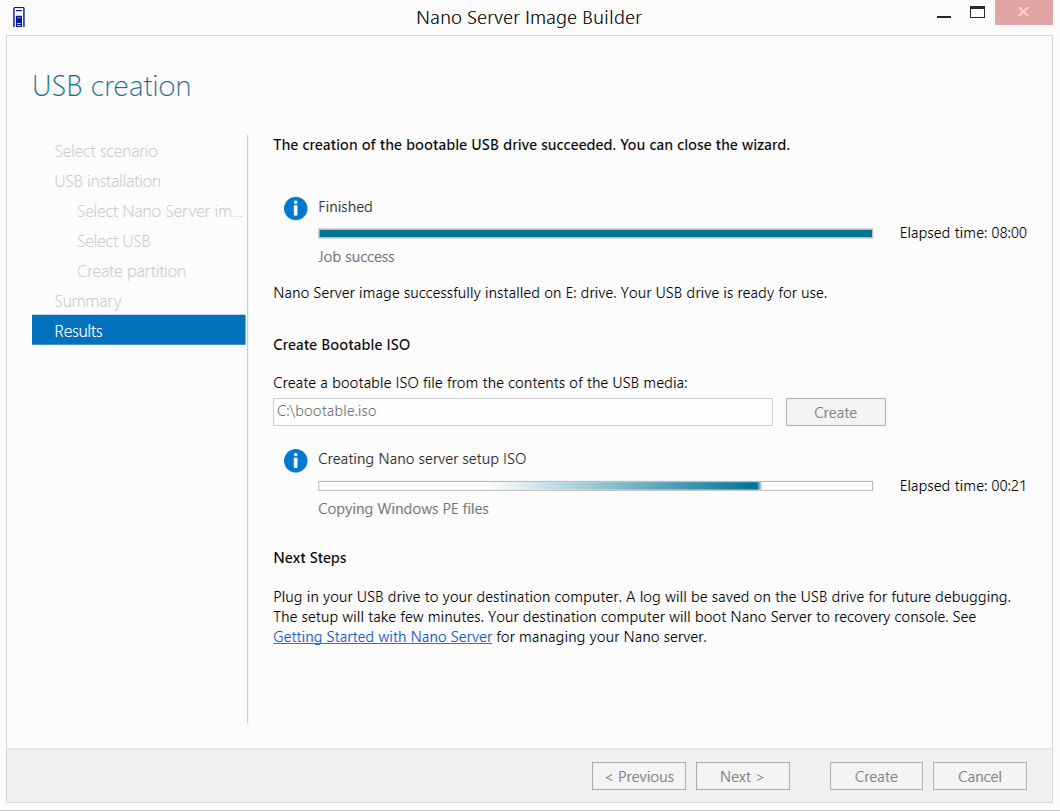
After selecting next, you’ll see the results screen. Let the USB drive stage finish, and optionally also prepare a bootable ISO. I actually had some problems with the USB method and had to use the ISO.
Keep reading below and I’ll explain my reasons.
Installing to the SD Card
Now here’s where things can get tricky. The prepared USB stick contains a bootable copy of WinPE which when booted, tries to automatically create the needed system partitions and install Nano Server to ‘disk 0’ of the system. There isn’t a GUI option to change where the drive installs to.
In my testing, I found that ‘disk 0’ always seems to end up being anything but the SD card. At first my home lab server assigned an internal PCIe SSD drive as ‘disk 0’, and after removing SSD from the server, it actually set the bootable USB WinPE drive as ‘drive 0’, thus erasing everything on the USB drive I had prepared!
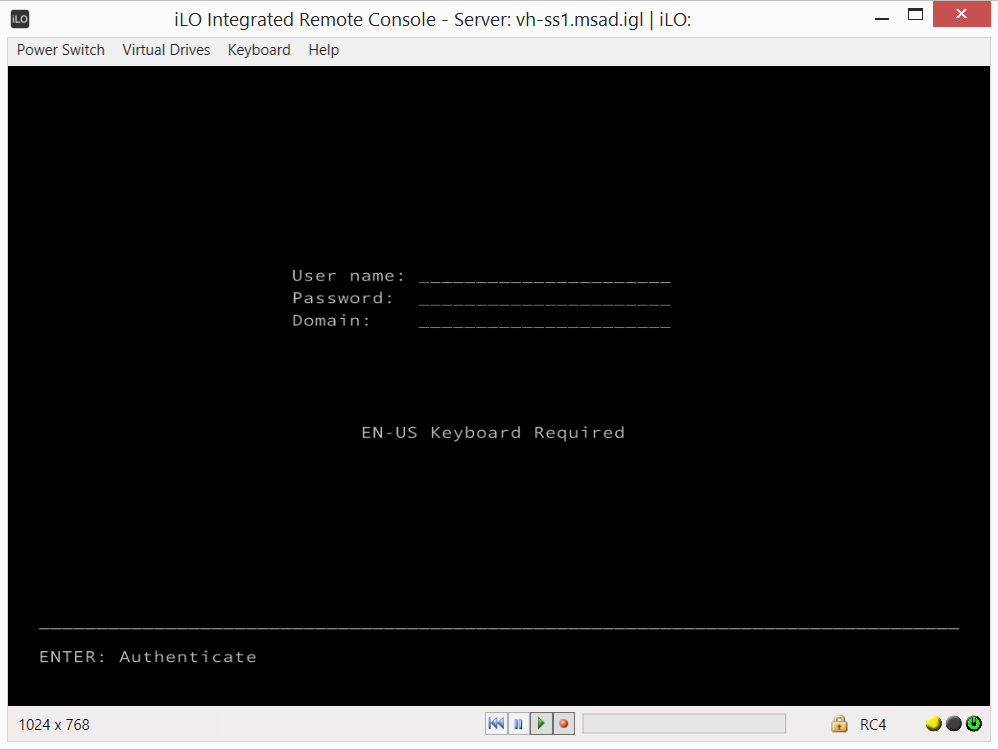
To work around this, I connected to my ProLiant’s iLO and mounted the ISO over the network.
Another method which I had limited success with, was to edit the ‘CreatePartitions.bat’ file at the root of the WinPE system drive. If you wait for the Nano Server installer to fail, you’ll be presented with a normal Windows command prompt. Open up notepad.exe from the command prompt, and then also load up diskpart to see the disk number Windows has assigned to your SD card. Here’s a screenshot of me having changed the disk to ‘disk 1’, which is a 32GB SD card.
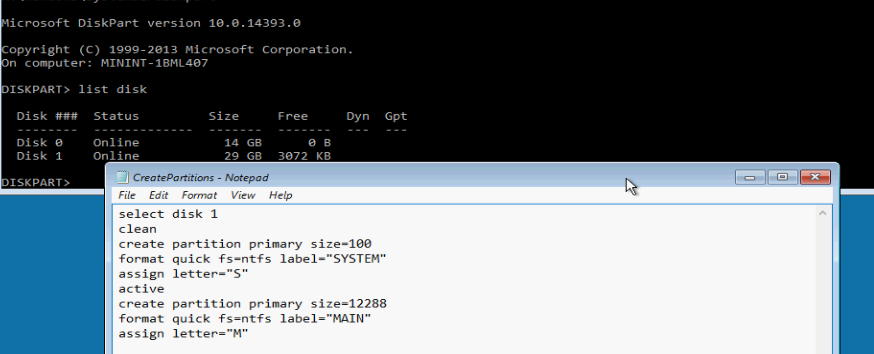
Once changing the disk letter, you can kick off the Nano Server installer again by typing the following command at the command line:
| |
In larger environments trying to deploy Nano Server en masse, I’d recommend deploying via PXE.
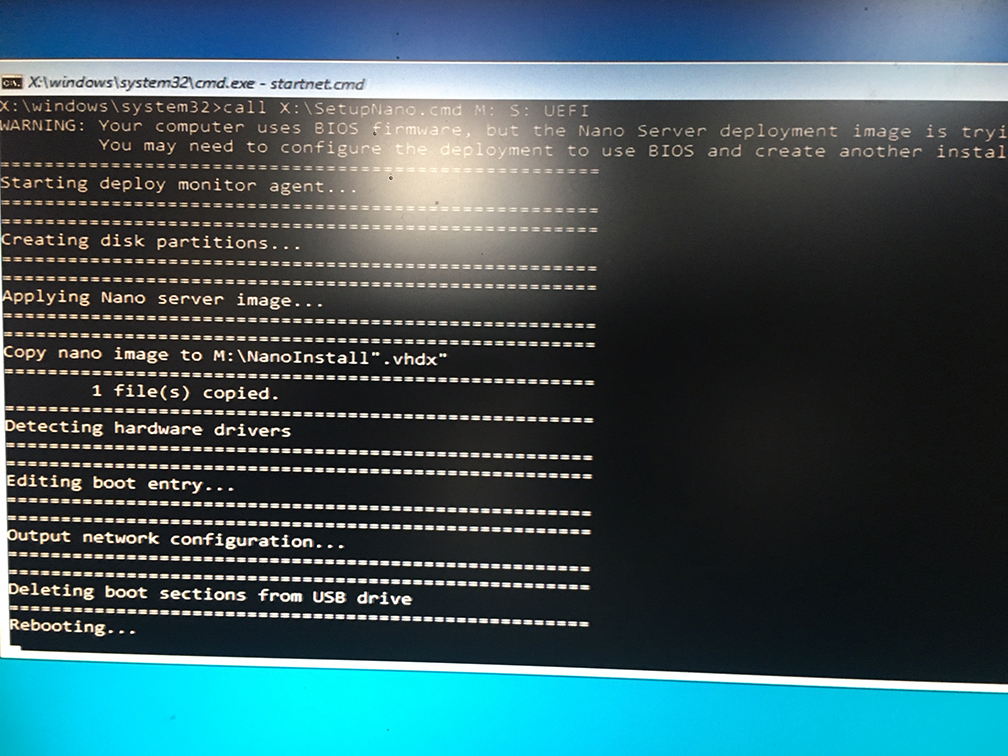
Once booting the server from an ISO mounted over the network via iLO, you should see something like this on the screen. Apologies for the picture quality.
Let the server reboot, unplug the USB drive (or remove the DVD/ISO) and if your BIOS/UEFI boot settings are set to boot to the SD card, you should see this:
On HP servers, you’ll need to make sure ‘USB DriveKey’ is set as a bootable option. Internal and external USB flash, and the internal SD cards all come under the ‘USB DriveKey’ title with HP. By default, the boot order is External USB flash > internal USB flash > internal SD card. Make sure any USB flash is unplugged, or just edit the boot order in the BIOS.
This is true only for a HP ProLiant Get 8, things will probably be different in your environment.
Finishing off
I hope this guide helped you. If you have any questions, or suggestions on how to improve my guide please drop me a comment below. Thanks!
Comments