Installing Docker and Portainer on PhotonOS
Table of Contents
It recently occurred to me that simple tasks such as setting up an internal web server or database were taking too long. Each time I needed to setup a website I was manually provisioning a VM, installing Debian, configuring the system by hand, installing Nginx, etc. There has to be a better way.
Enter docker. I’ve know about containers for awhile now but have yet to take a look. In this post I’m going to be installing Docker within my HomeLab on top of VMware’s new Photon OS, and showing how to manage the system with Portainer.
What is Docker? #
For the uninitiated Docker makes it much easier to deploy and run applications. Whereas a virtual machine is an operating system sharing hardware with other VM’s, Docker containers are applications sharing the operating system with other applications.
Applications first have to be ‘dockerised’ in order to work. Take a look at which applications are available here: https://hub.docker.com/search?q=&type=image
In essence applications and their dependencies are packaged up into a ‘container’. When run, the container shares the same OS kernel with other containers.
Step 1 – Deploying Photon OS #
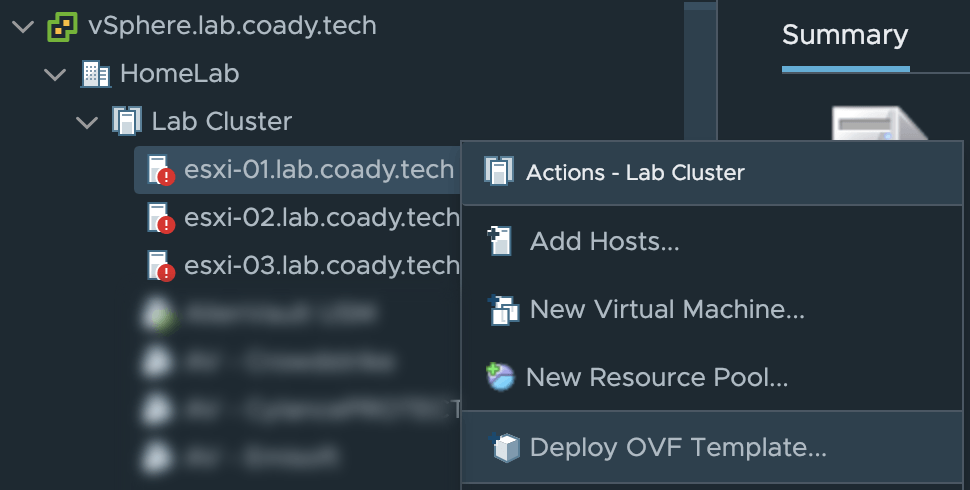
As my HomeLab currently runs vSphere 6.7 I’ll be using the OVA distribution of Photon OS available here: https://github.com/vmware/photon/wiki/Downloading-Photon-OS
Login to vCenter and right-click on a host or cluster. Select the option to deploy an OVF template.
Follow the wizard to upload and configure your new PhotonOS virtual machine. You will be asked to give the VM a name, agree to the EULA, choose a network adapter, etc.
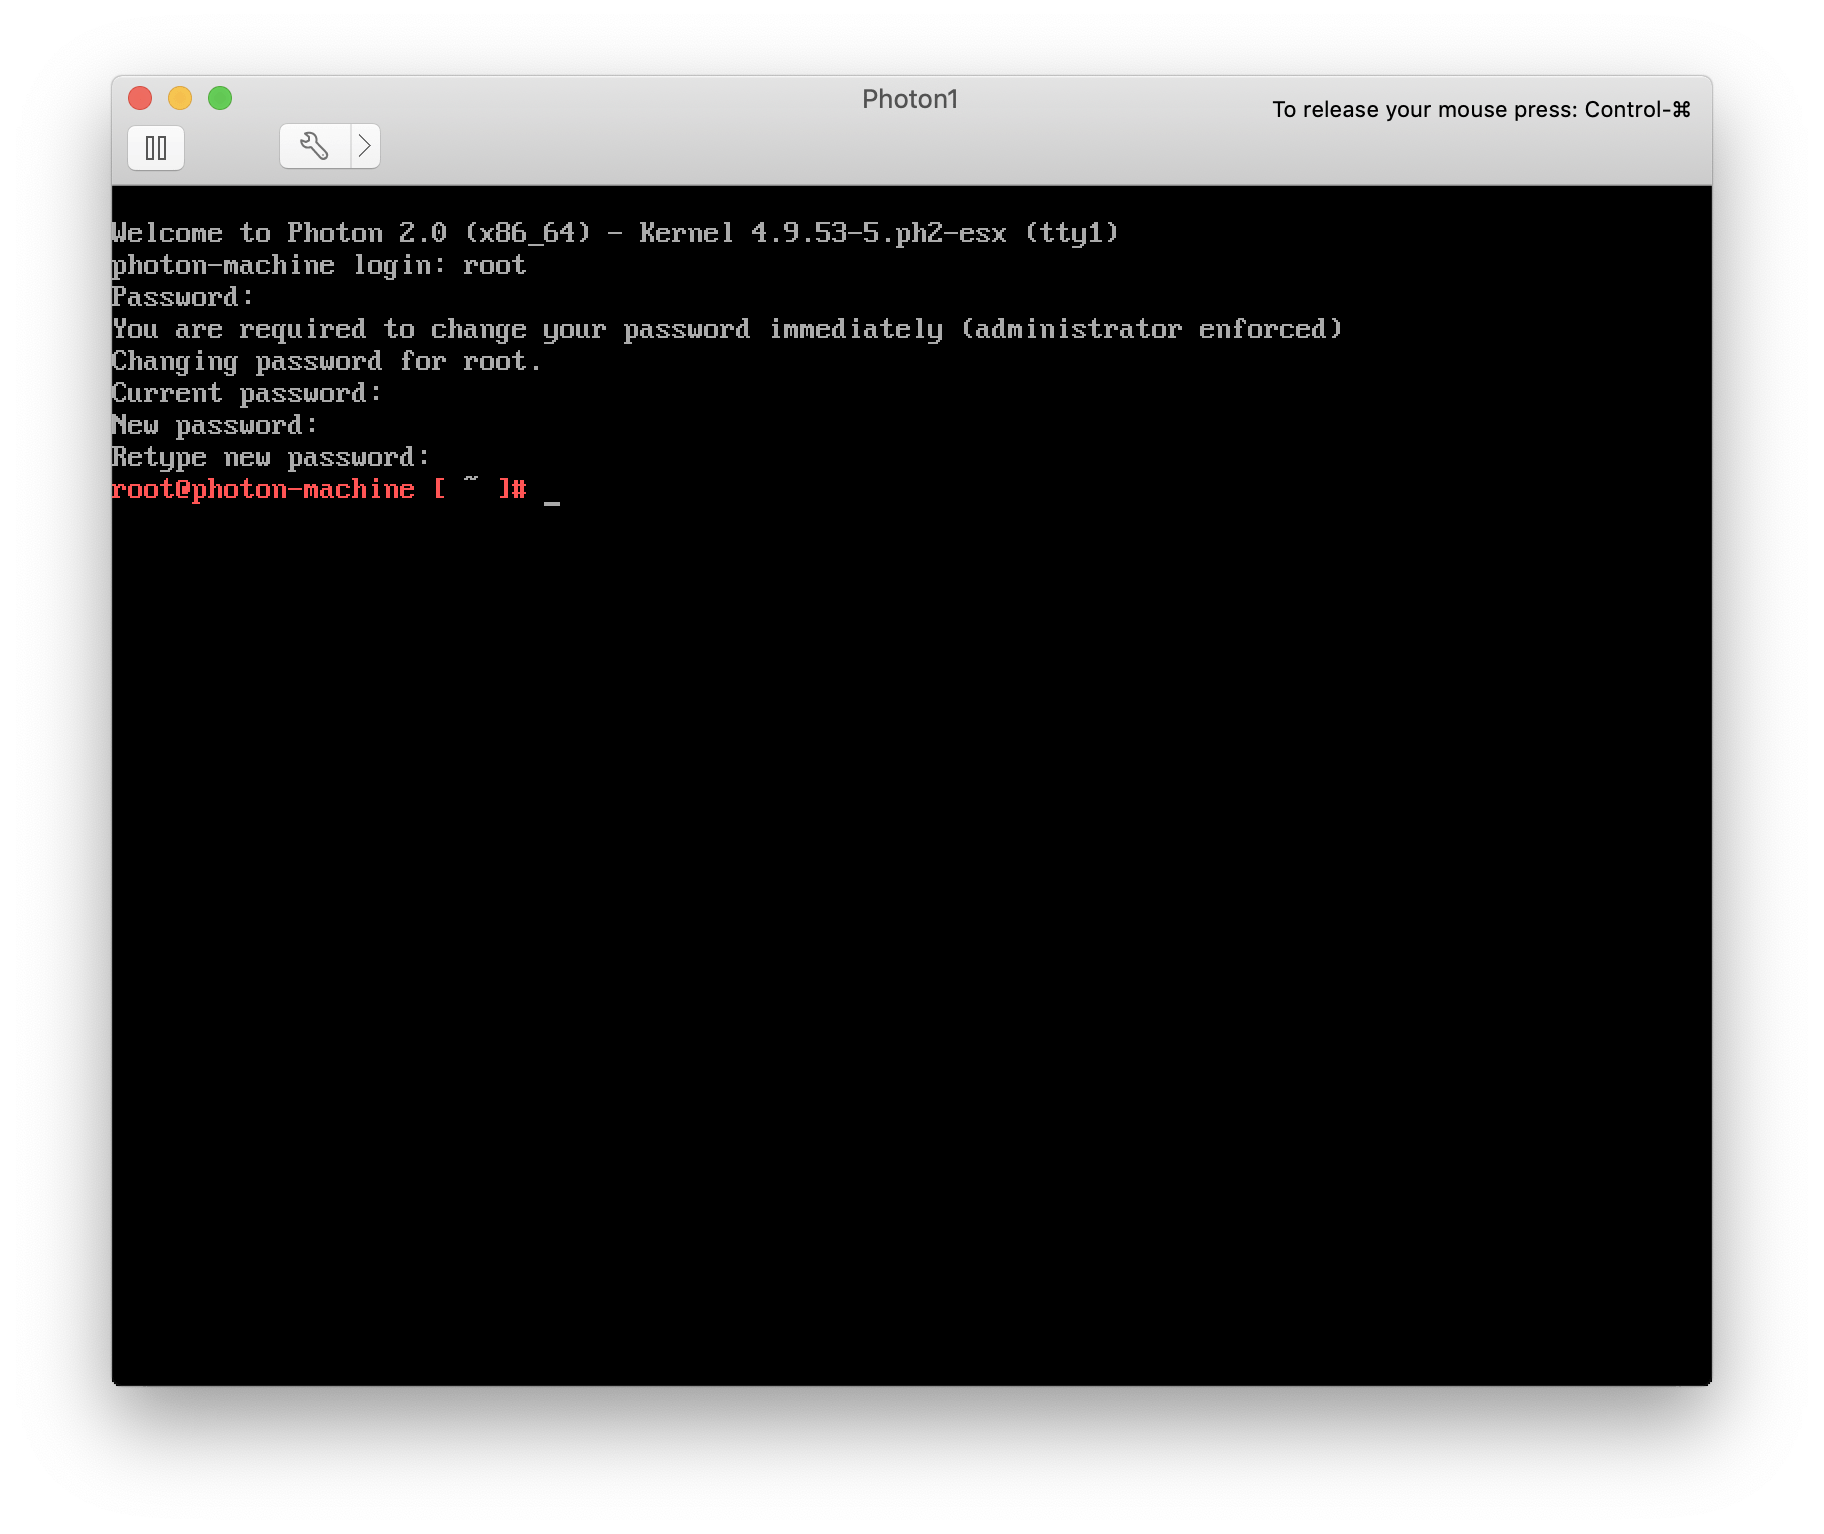
Once finished, power on the new VM and connect to the console. After a minute or so you’ll be brought to the login screen.
Info
Username: root
Password: changeme
At first login you will need to change your password.
Step 2 – Enabling Docker #
This is going to be a very quick step.
At the Photon OS console type in the following commands:
systemctl start docker

systemctl enable docker
Step 3 – Portainer setup #
Portainer is going to allow us to manage Docker via a pretty web interface.
Back at the Photon OS console type the following commands:
docker volume create portainer_data
docker run -d -p 9000:9000 --name Portainer --restart always -v /var/run/docker.sock:/var/run/docker.sock -v portainer_data:/data portainer/portainer-ce
Note
The command should look like this:

Portainer will now be installed and listening on port 9000.
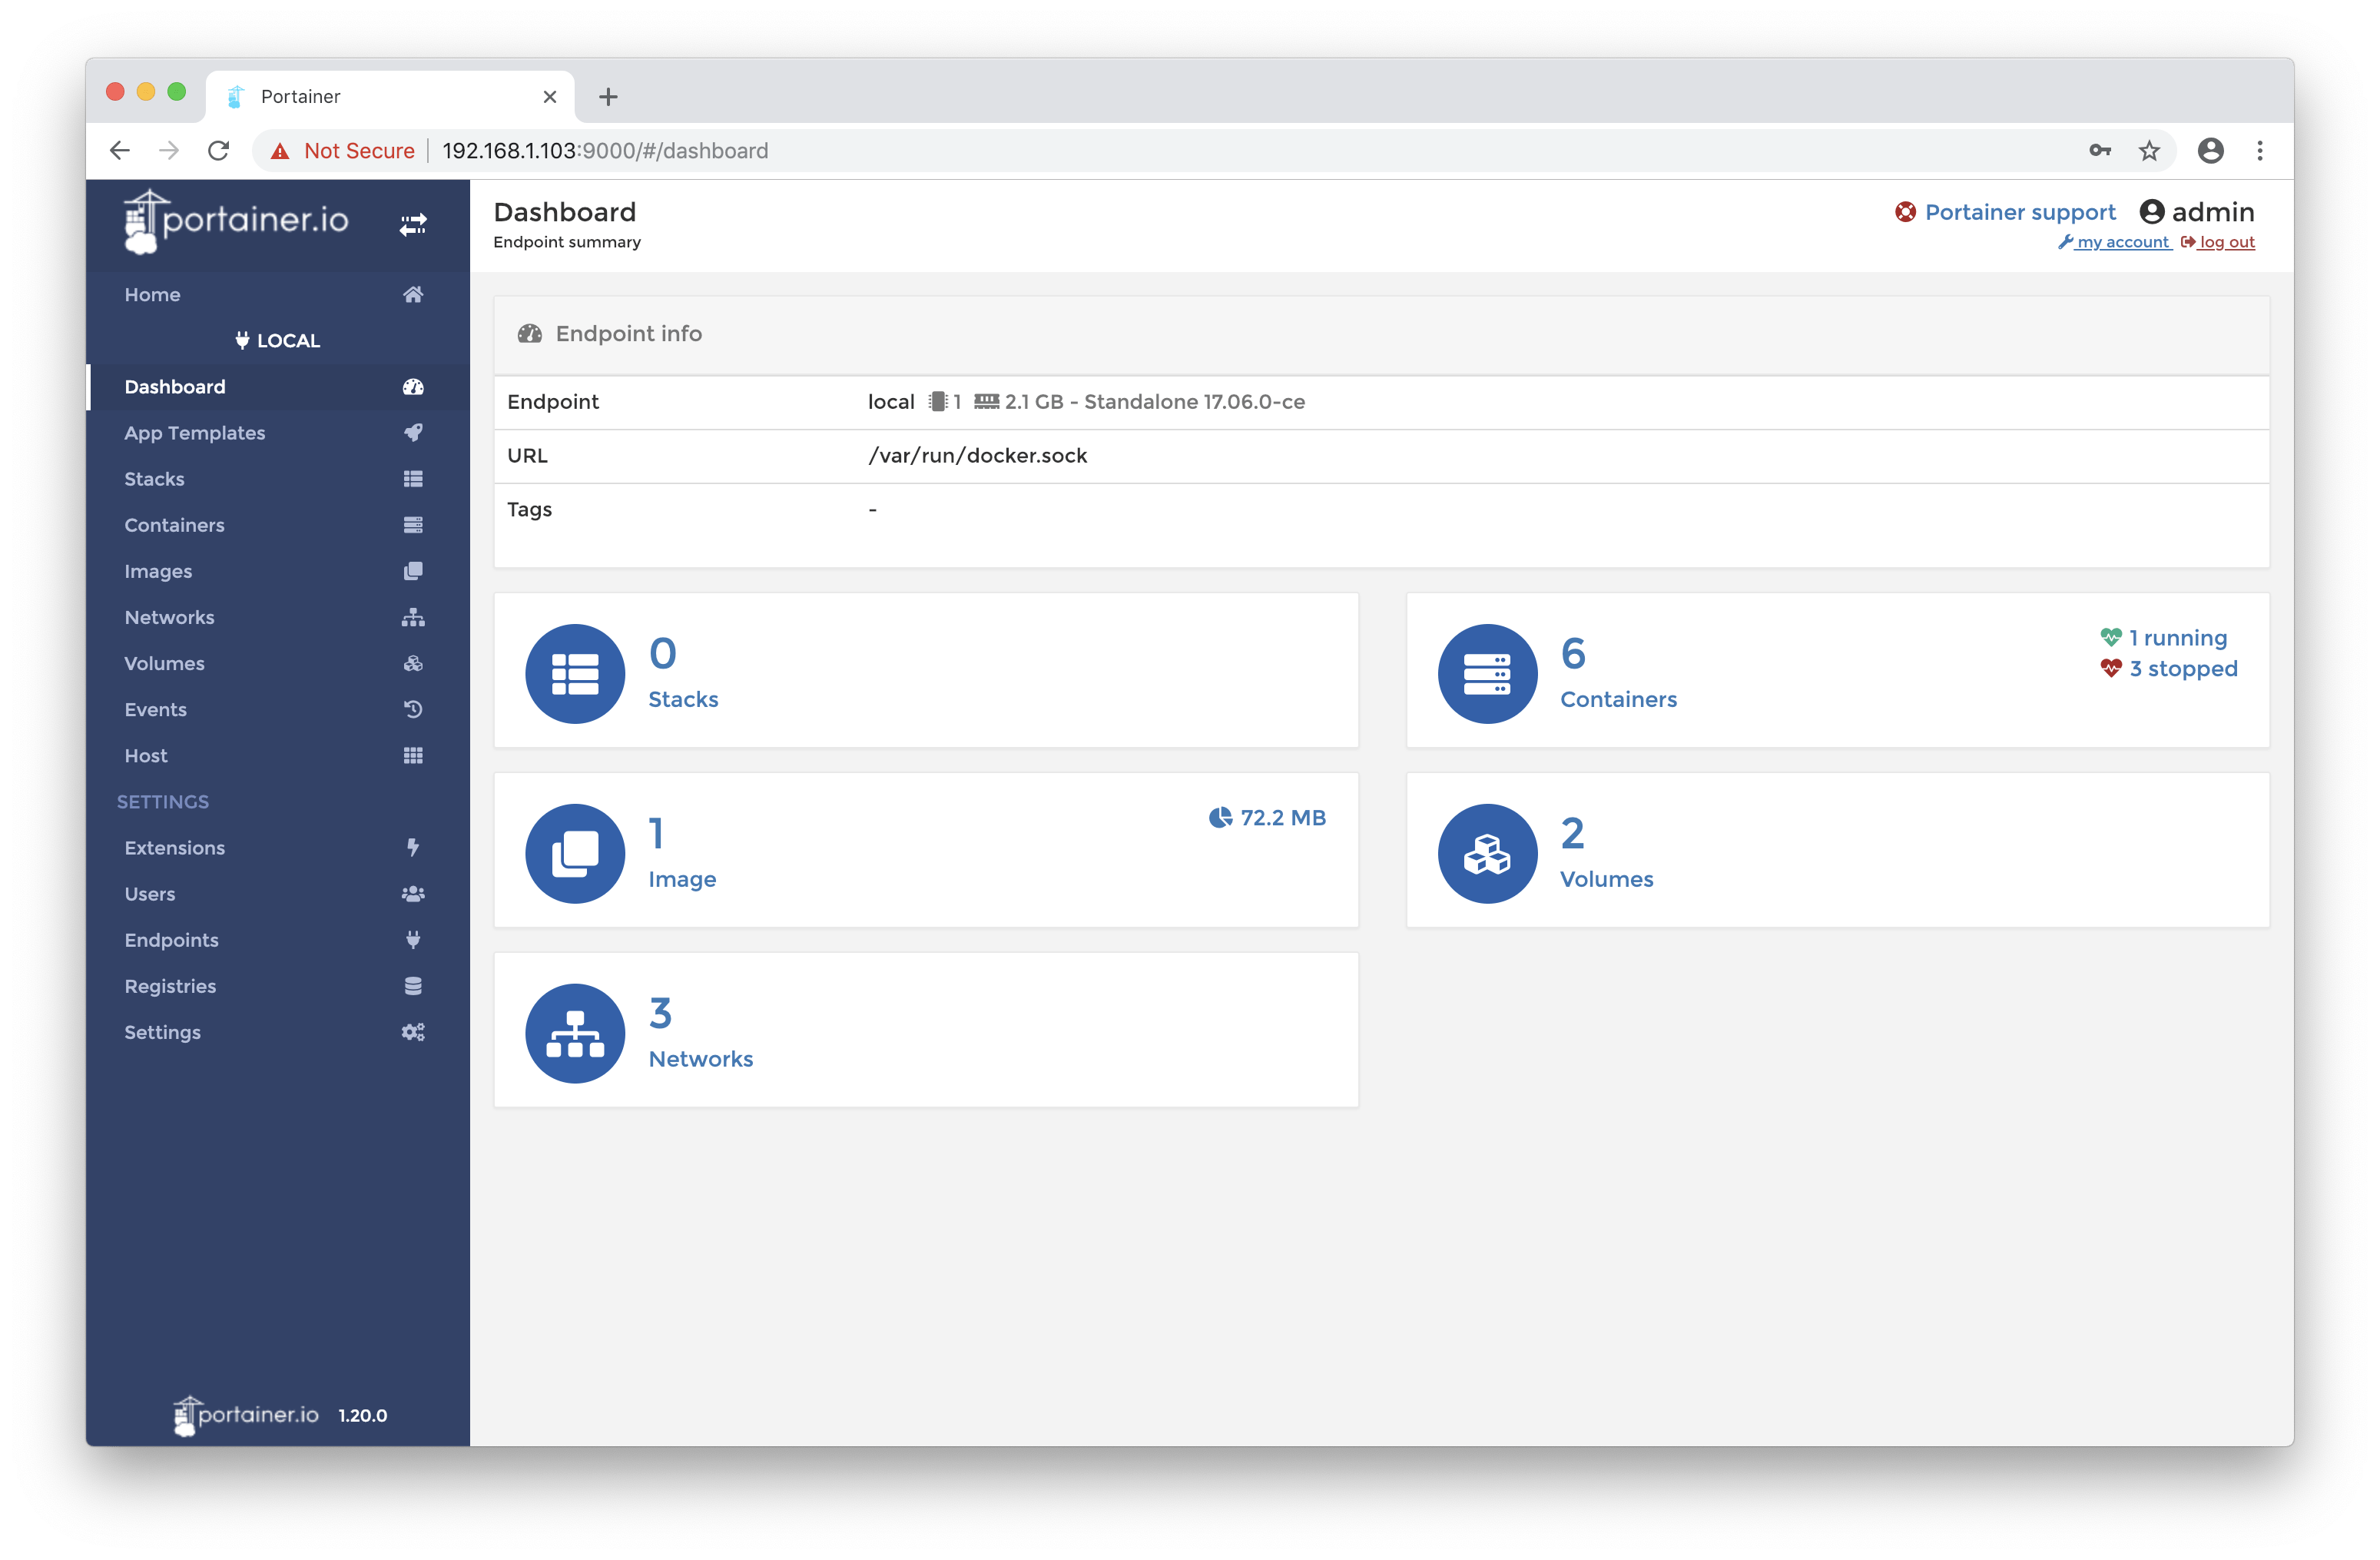
Open Portainer by pointing a web browser at port 9000 of the machines IP address (type ‘IP address’ if you don’t know the IP). Select the local option and then connect.

That’s it! You’ll be prompted login and will then be brought to the home screen.
Finishing up #
In this post we’ve installed VMware’s PhotonOS, Docker and Portainer; and then configured them to all work together nicely. Hopefully this will enable me to bring out some future blog posts faster as I spend less time configuring infrastructure and more time hand’s on with interesting tech.
This guide was meant to be a quick run through showing how to setup a working Docker container environment. It’s by no means exhaustive however if you do have any tips or suggestions please drop them in the comments. Thanks!