Azure Server Management Tools

Even though they’ve been out in preview for almost a year, I only recently found out about Azure Server Management Tools! In essence, it’s a light version of Microsoft’s ‘Server Manager’ ported to the Azure web management GUI.
If you have a hybrid cloud deployment to Azure, or are looking for ways to manage on-premise Windows VM’s (including Nano), this tool could be for you.
In this quick guide, I’m going to show you how to setup a monitoring in Azure, installing the gateway agent, and some use scenarios.
An interesting use case of this tool would be by managed service providers. An MSP could deploy this out to each of their client’s and centrally see system status, outstanding Windows Updates, restart system services, and run PowerShell scripts etc.
How does it work?
After the basic setup, the Azure portal provides a download link to a customised MSI package which installs the ‘Gateway Service’. After installing the gateway on a machine of your choice, the gateway will communicate to all selected Windows servers via WinRM and forward the results onto Azure over HTTPS.
A quick setup guide
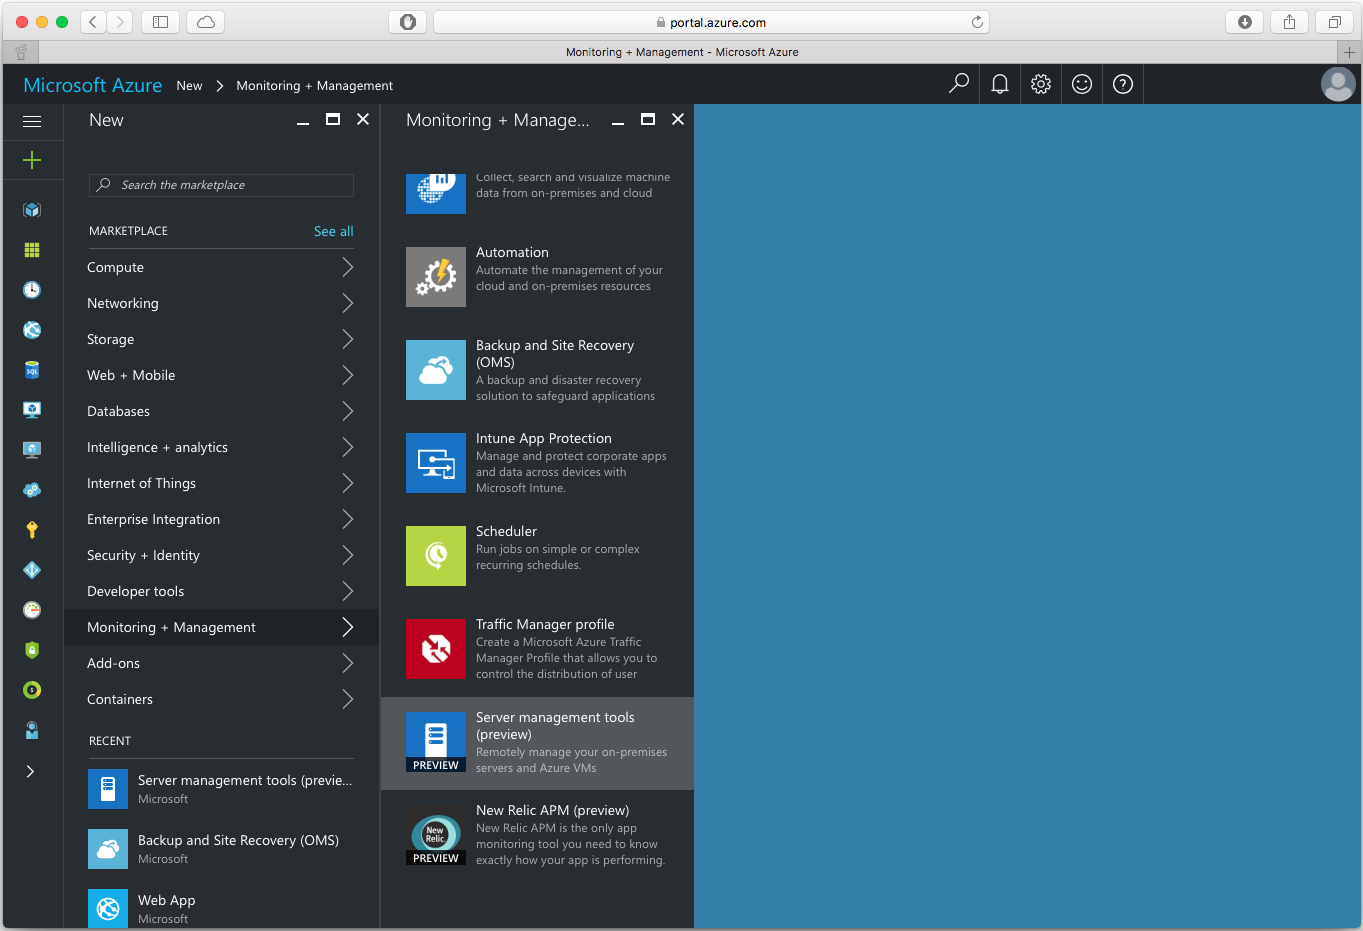
Setup is surprisingly simple. From the Azure console, select new > monitoring + management > Server management tools.
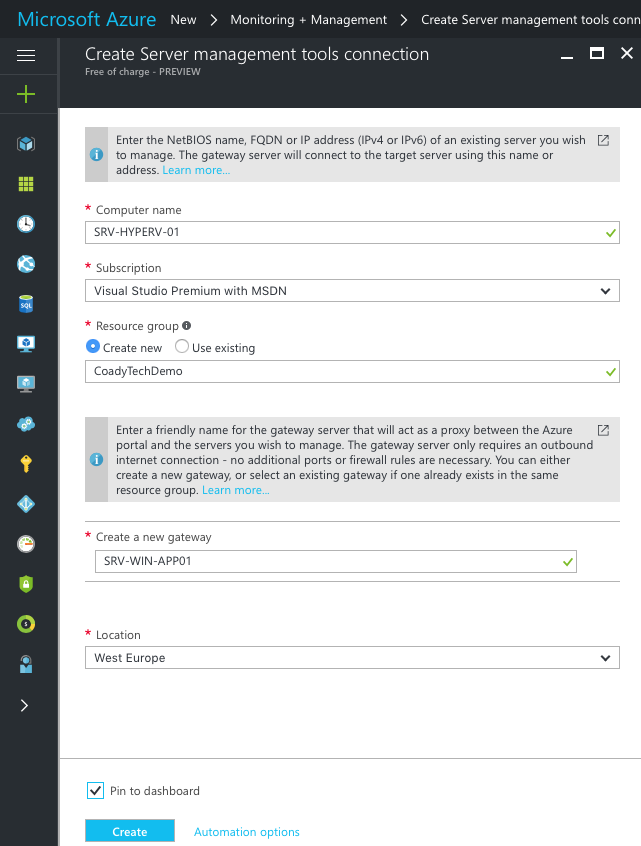
This will bring up the creation screen. For the computer name enter a DNS resolvable hostname or the internal IP address of the Windows Server you wish to manage. The rest of the options are for you to set.
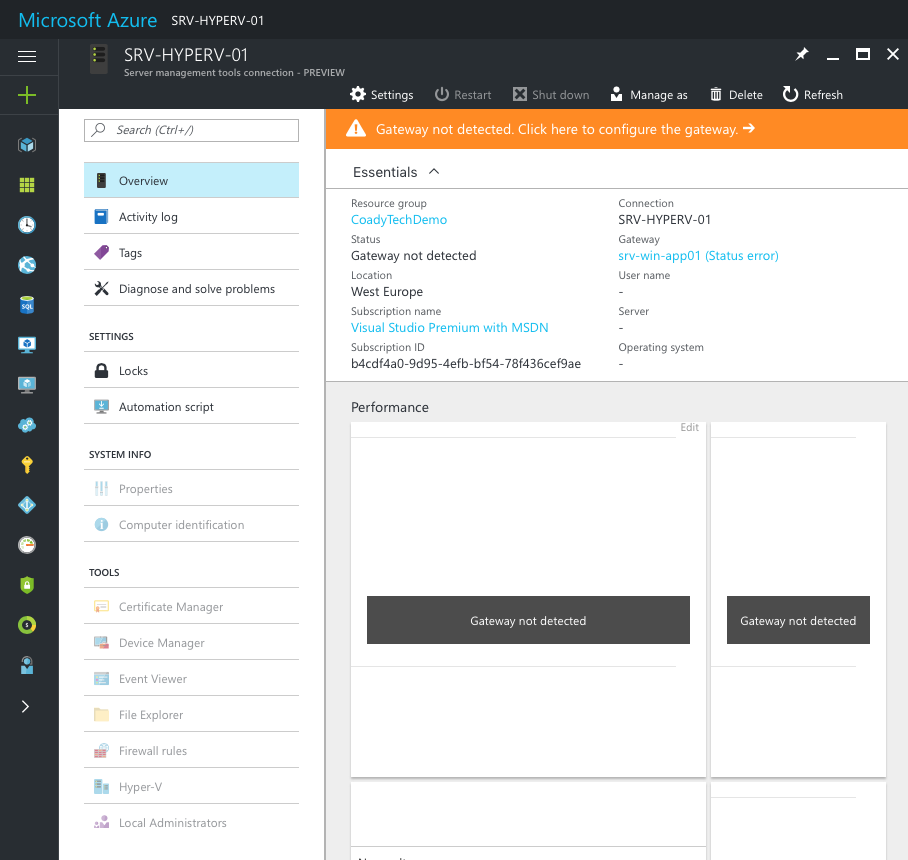
Once complete, you will be taken to the newly created Azure service. We’ll need to click on the orange bar to setup gateway server to Azure can communicate with your on-premise Windows Server.
On the next page, I left package updates set to ‘automatic’ and generated a new deployment package.
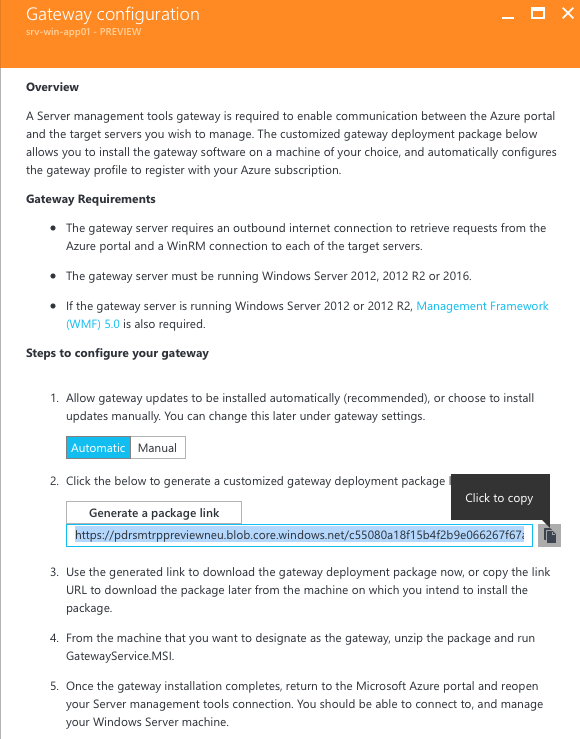
Use the link copied above to download the gateway installer MSI, and run this on an on-premise server. In this example I’m using Windows Server 2016 with desktop experience installed for compatibility reasons.
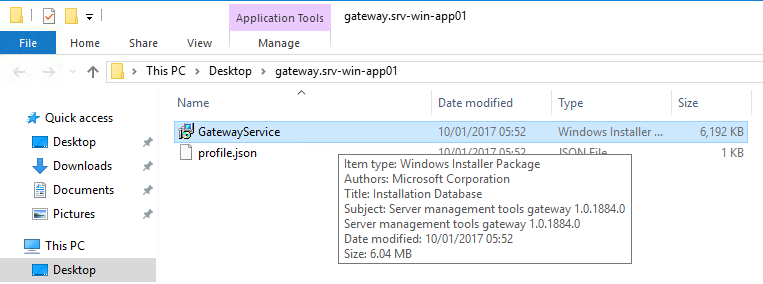
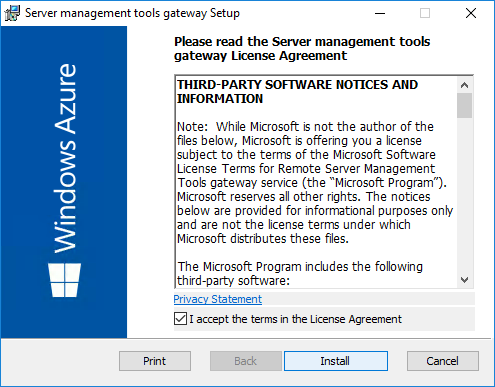
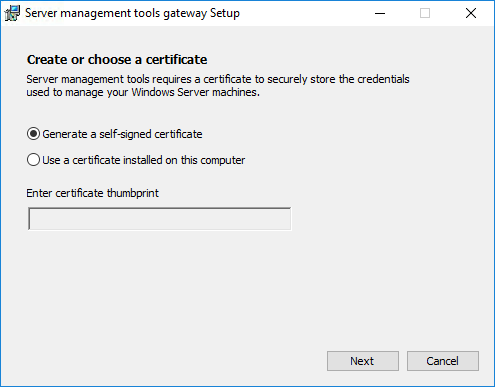
The installer is pretty much a next, next, finish affair. Although if you are deploying this in production I’d recommend you use a publicly trusted certificate on the gateway for security purposes. You can choose between a self-signed and imported certificate after clicking Install as seen here:
Now back to the Azure portal, we need to provide Azure with some credentials in order to communicate with the Windows Server. As this is my home lab environment I was lazy and used the domain admin account, however in production I’d highly recommend the use of a separate dedicated account.
Top tip: Make sure the user account is a member of the ‘Remote Management Users’ group on each server.
To set the credentials just click ‘Manage As’.
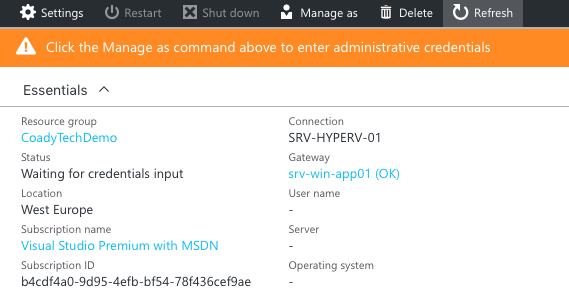
If you’ve set the credentials correctly, given a few moments, data should start coming through!
Screenshots
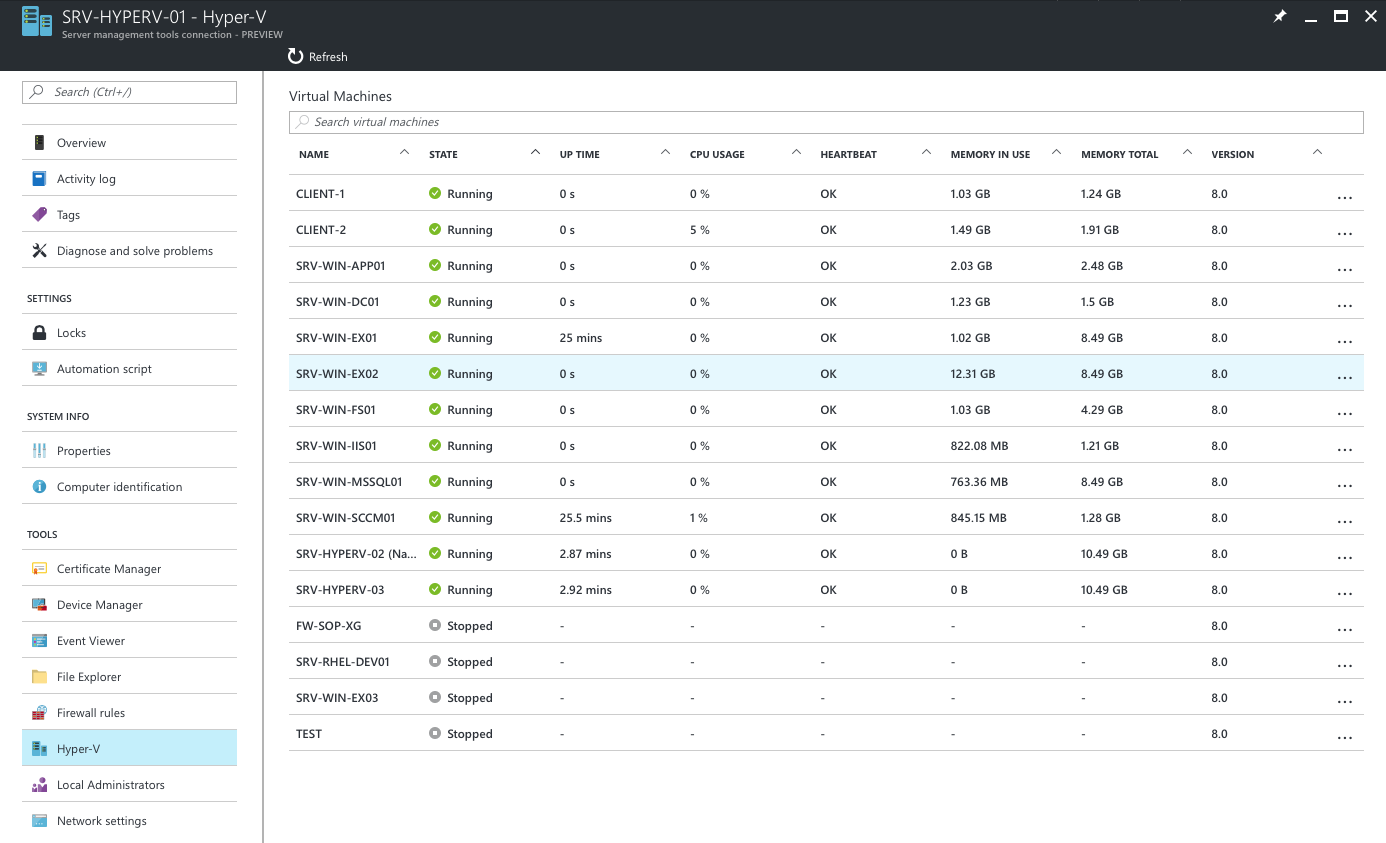
Hyper-V Management
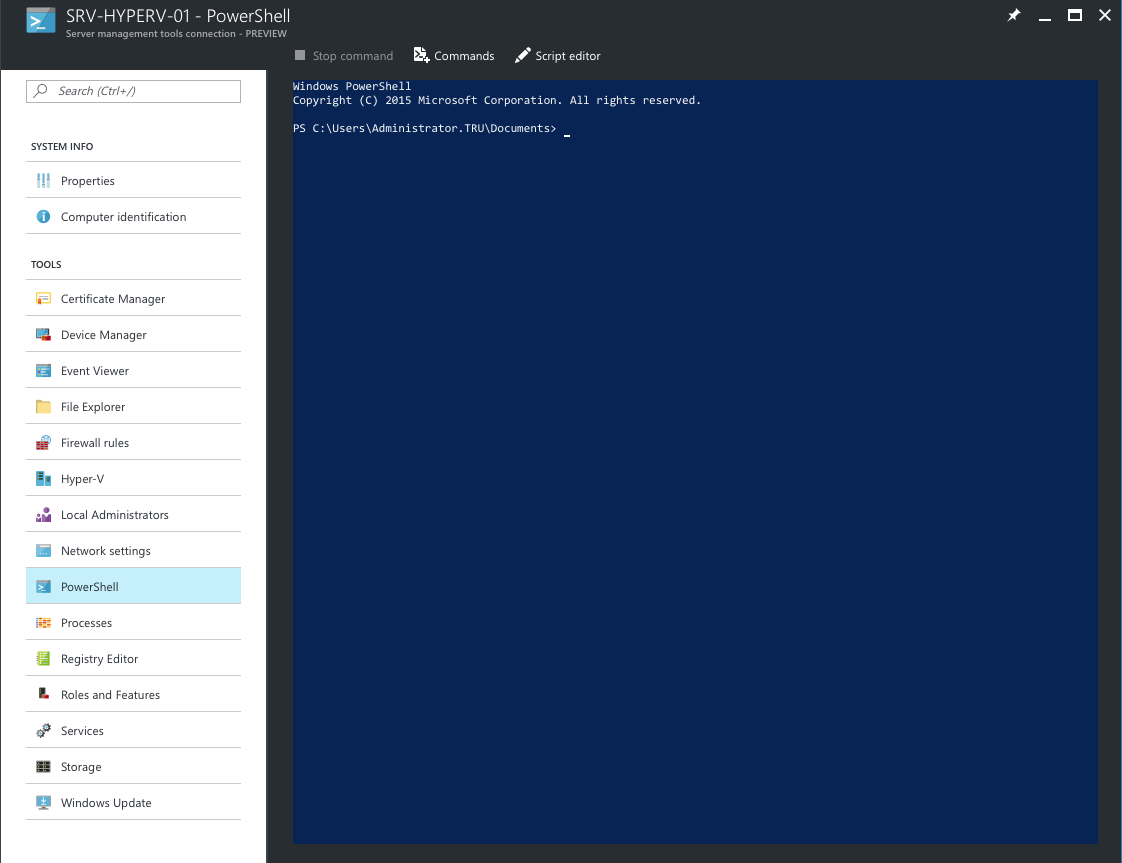
Remote PowerShell
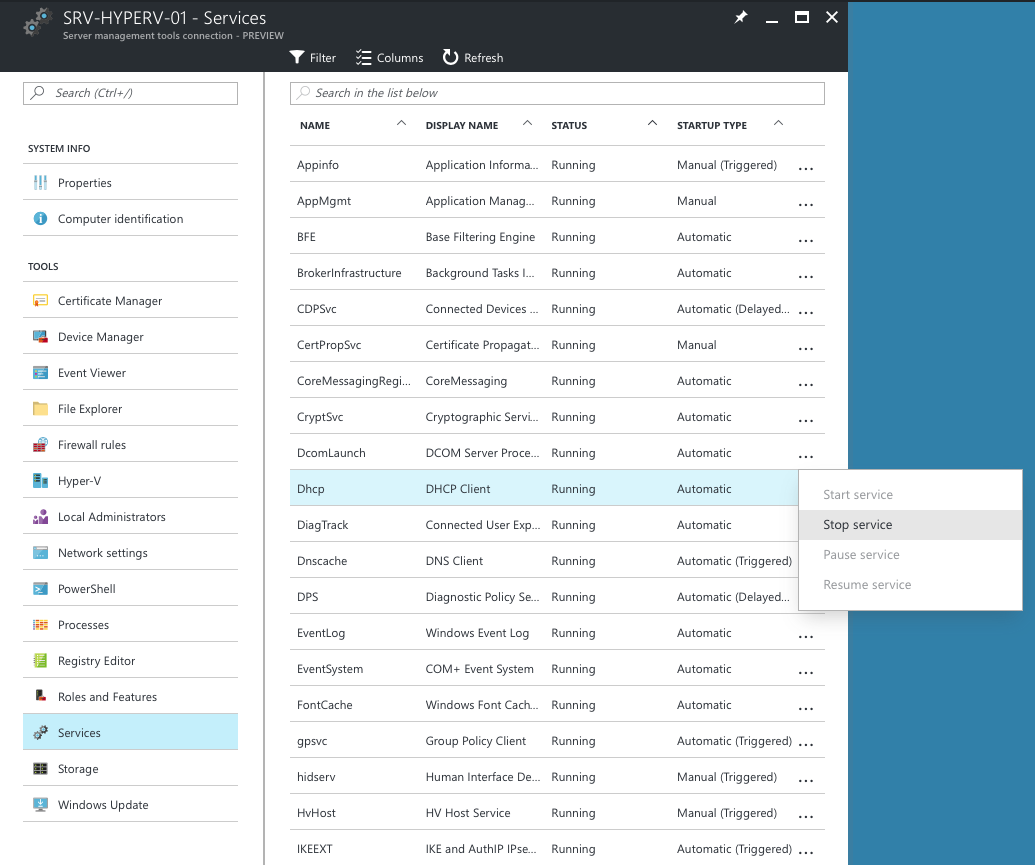
Restarting Windows Services
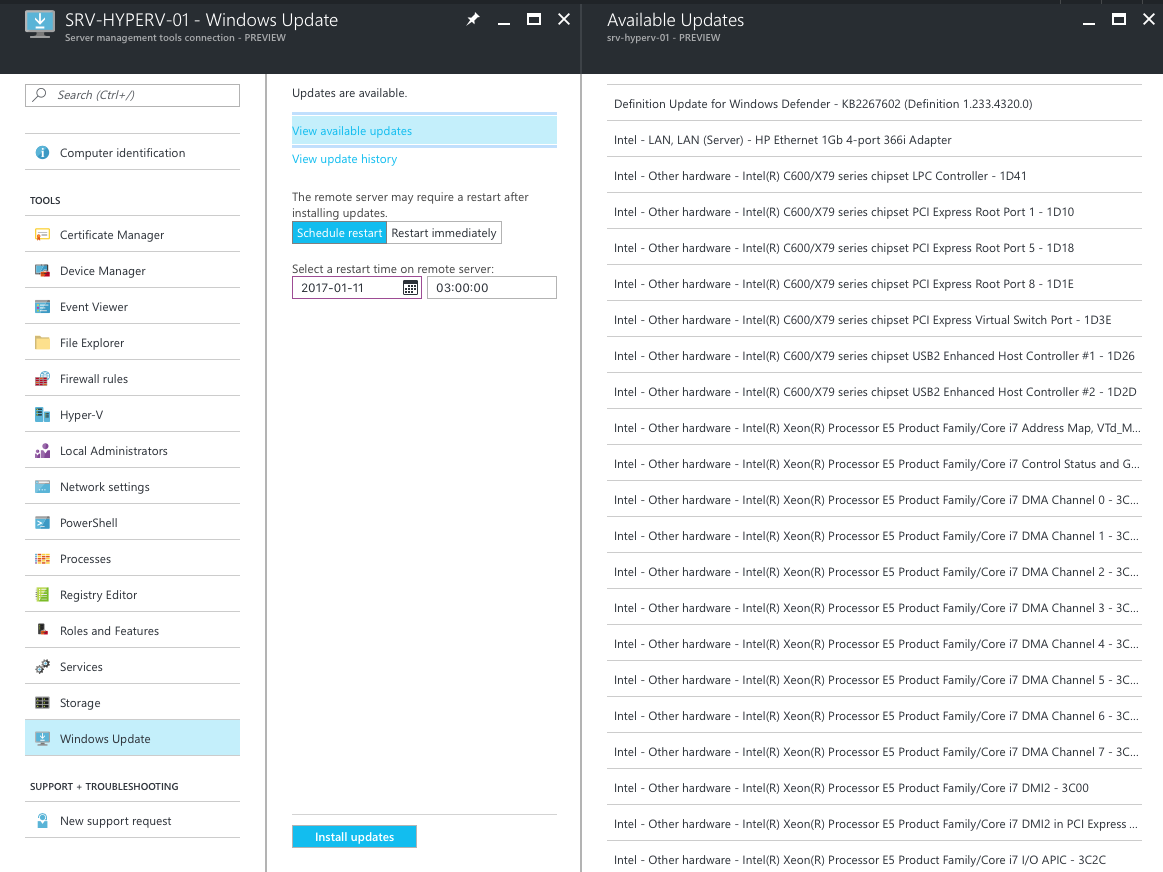
Windows Update Management
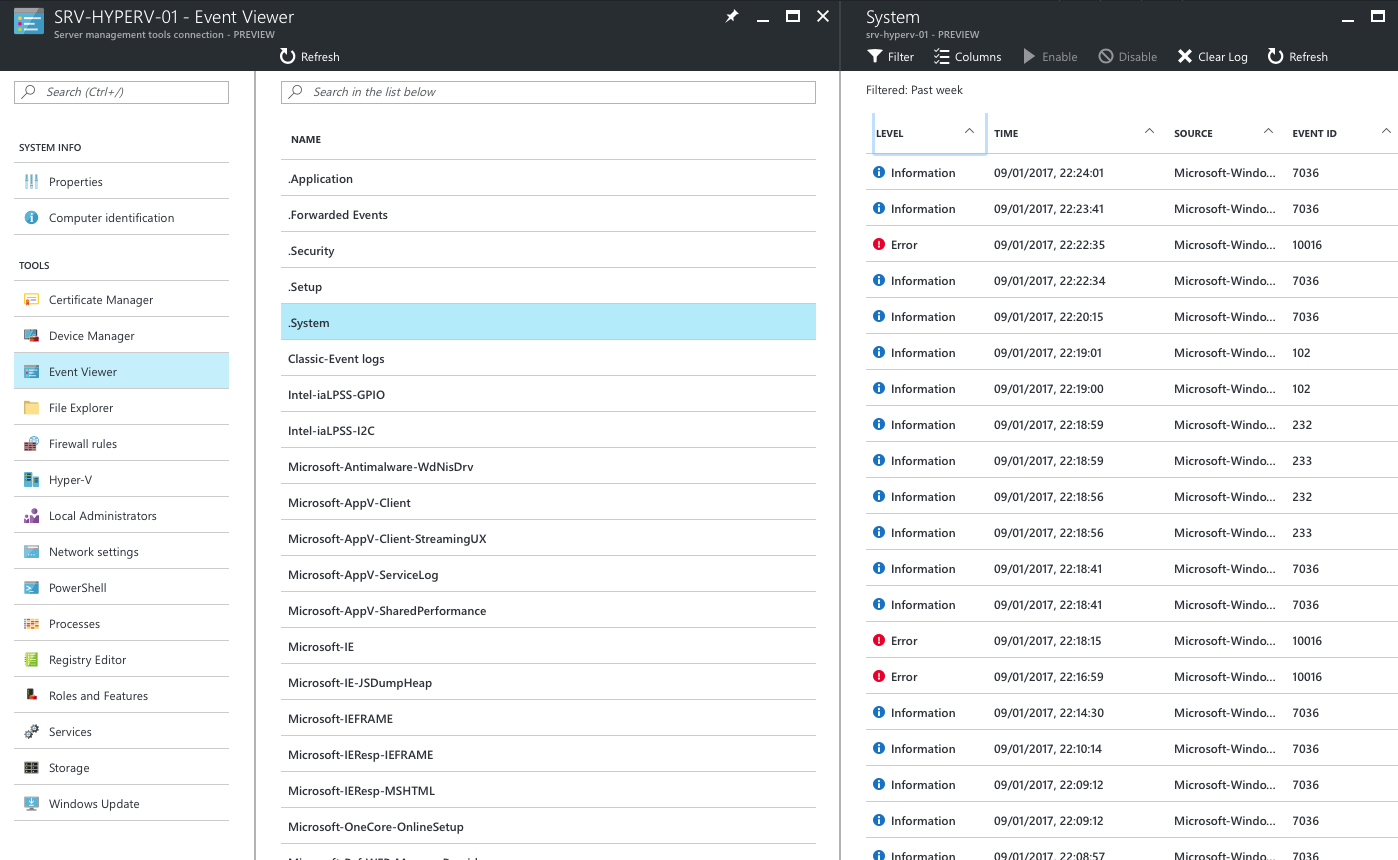
Checking the Windows Event logs
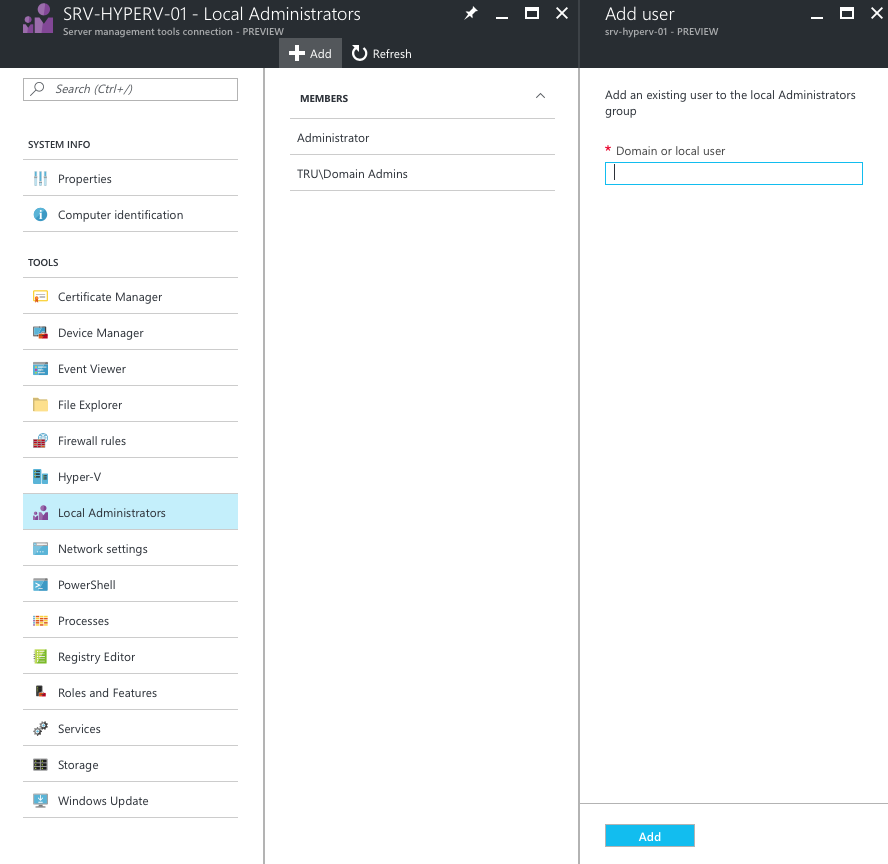
Local Users & Groups
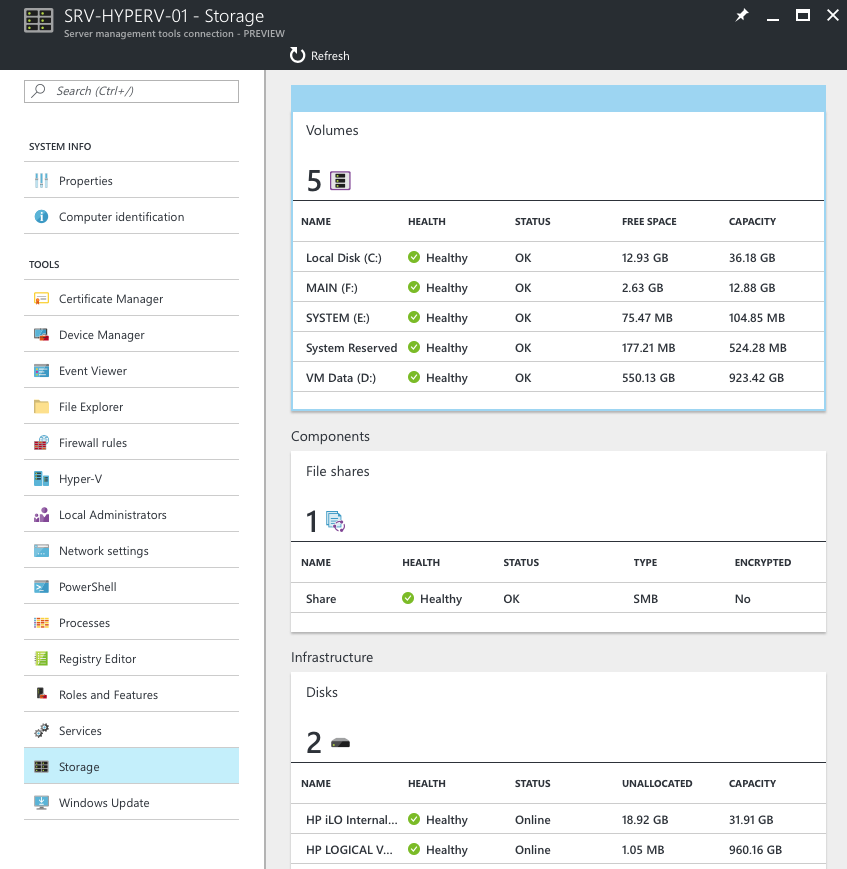
Comments